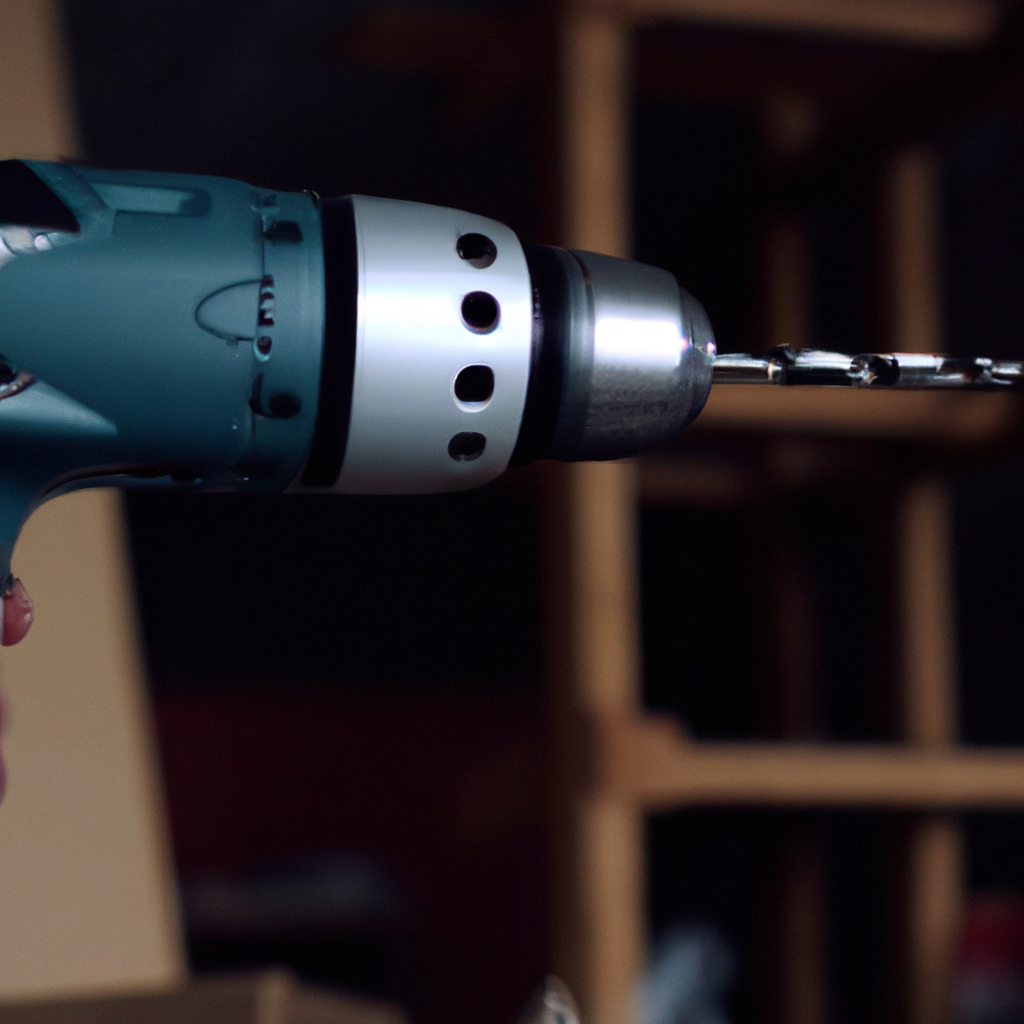
An electric drill is a powerful and versatile tool that is essential for any DIY enthusiast or professional contractor. It is a mechanical tool that is used to make holes in various materials like wood, metal, and plastic. In this article, we will discuss how an electric drill works, the components of an electric drill, and the drilling process.
How an Electric Drill Works
An electric drill is a power tool that uses electricity to rotate a drill bit at high speed. It converts electrical energy into mechanical energy to perform the drilling process. The drill bit is attached to the end of the drill’s chuck, which is a clamp that holds the drill bit in place. When the drill is turned on, the chuck rotates the drill bit at high speed, allowing it to penetrate the material being drilled.
Components of an Electric Drill
An electric drill consists of several components that work together to make it function correctly. These components are:
1. Motor: The motor is the heart of the electric drill. It converts electrical energy into mechanical energy to rotate the chuck and the drill bit.
2. Trigger Switch: The trigger switch is the on/off switch that controls the speed of the drill. When the trigger is pressed, it completes the circuit, and the drill starts to rotate. The harder the trigger is pressed, the faster the drill rotates.
3. Chuck: The chuck is the clamp that holds the drill bit in place. It tightens and loosens to allow for easy removal and replacement of the drill bit.
4. Gearbox: The gearbox is responsible for reducing the speed of the motor and increasing the torque. The gearbox contains several gears that work together to achieve this.
5. Battery: The battery provides the power to the electric drill. It is rechargeable and can be removed from the drill for charging.
Drilling Process
The drilling process involves several steps that are essential for achieving a clean and accurate hole. These steps are:
1. Choose the correct drill bit: The drill bit selection depends on the material being drilled. For example, a wood drill bit is different from a metal drill bit.
2. Secure the material: The material being drilled should be secured in place to prevent it from moving during the drilling process. This can be achieved by clamping it down or using a vice.
3. Set the drill bit depth: The depth of the hole can be set by adjusting the depth stop on the drill. This prevents the drill bit from going too far into the material.
4. Start drilling: Hold the drill firmly and press the trigger to start the drilling process. Apply steady pressure to the drill to ensure a smooth and even hole.
5. Remove the drill bit: Once the hole is complete, release the trigger and remove the drill bit from the chuck. Clean the drill bit and store it in a safe place.
Conclusion
In conclusion, an electric drill is a versatile and powerful tool that is essential for any DIY enthusiast or professional contractor. It works by converting electrical energy into mechanical energy to rotate the drill bit at high speed. It consists of several components that work together to make it function correctly, including the motor, trigger switch, chuck, gearbox, and battery. The drilling process involves several steps, including choosing the correct drill bit, securing the material, setting the drill bit depth, starting drilling, and removing the drill bit. By following these steps, you can achieve a clean and accurate hole for any home improvement or construction project.


