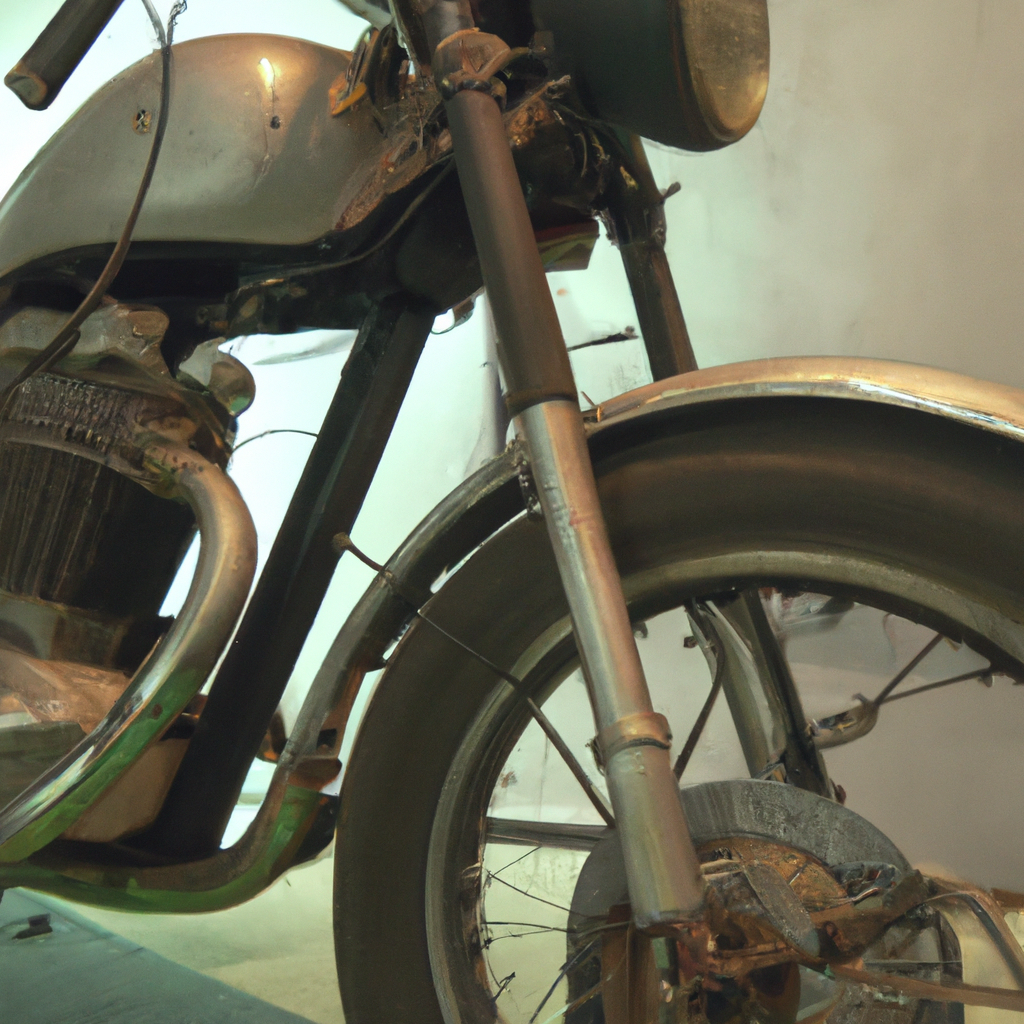
Restoring a vintage motorcycle can be an exciting and rewarding project for any motorcycle enthusiast. Although it may seem daunting at first, with the right tools, techniques, and knowledge, it is possible to restore an old motorcycle to its former glory. In this article, we will outline the steps to restore a vintage motorcycle and provide some useful tips to help you along the way.
1. Assess the condition of the motorcycle
The first step in restoring a vintage motorcycle is to assess its current condition. This will help you to determine what needs to be done to restore it and how much it will cost. Check the frame, engine, wheels, and other components for any signs of damage or wear and tear. Make a list of the parts that need to be replaced or repaired and estimate the cost of the restoration.
2. Strip the motorcycle down
Once you have assessed the condition of the motorcycle, it’s time to strip it down. Remove all the parts, including the engine, wheels, handlebars, and exhaust pipes. This will give you access to all the components that need to be repaired or replaced. Label all the parts as you remove them to avoid confusion when it’s time to reassemble the motorcycle.
3. Clean and polish the parts
The next step is to clean and polish all the parts. Use a degreaser to remove any dirt and grime from the engine and other components. Use a wire brush to remove any rust or corrosion from the metal parts. Once the parts are clean, polish them to restore their shine and remove any scratches.
4. Repair or replace the parts
Now that the parts are clean and polished, it’s time to repair or replace any damaged components. If the engine needs to be rebuilt, take it to a professional mechanic who specializes in vintage motorcycles. If the wheels are damaged, replace them with new ones. Check all the electrical components and replace any that are faulty.
5. Paint and powder coat the parts
Once all the parts have been repaired or replaced, it’s time to paint and powder coat them. Choose a paint color that matches the original color of the motorcycle. Apply the paint in thin coats, allowing each coat to dry before applying the next one. Powder coat the metal parts to protect them from rust and corrosion.
6. Reassemble the motorcycle
Now that all the parts have been repaired, replaced, and painted, it’s time to reassemble the motorcycle. Use the labels you created earlier to ensure that all the parts are put back in the right place. Tighten all the bolts and nuts to the correct torque settings. Check all the electrical connections and make sure everything is working as it should.
7. Test ride the motorcycle
The final step is to test ride the motorcycle. Start the engine and let it warm up for a few minutes. Take the motorcycle for a short ride to make sure everything is working correctly. Check the brakes, throttle, and gears to ensure they are all functioning as they should. If everything is working correctly, congratulations, you have successfully restored a vintage motorcycle!
Motorcycle renovation tips
– Always work in a clean and well-ventilated space
– Use the right tools for the job
– Take your time and don’t rush the restoration process
– Don’t be afraid to seek advice from other motorcycle enthusiasts or professionals
– Keep a record of all the work you have done and the parts you have replaced
– Be prepared to spend more than you initially budgeted for the restoration.
In conclusion, restoring a vintage motorcycle is a challenging but rewarding project. By following the steps outlined in this article and applying the motorcycle renovation tips, you can bring an old motorcycle back to life and enjoy the thrill of riding a classic bike. Remember to take your time and don’t rush the restoration process. With patience and dedication, you can restore a vintage motorcycle to its former glory.


