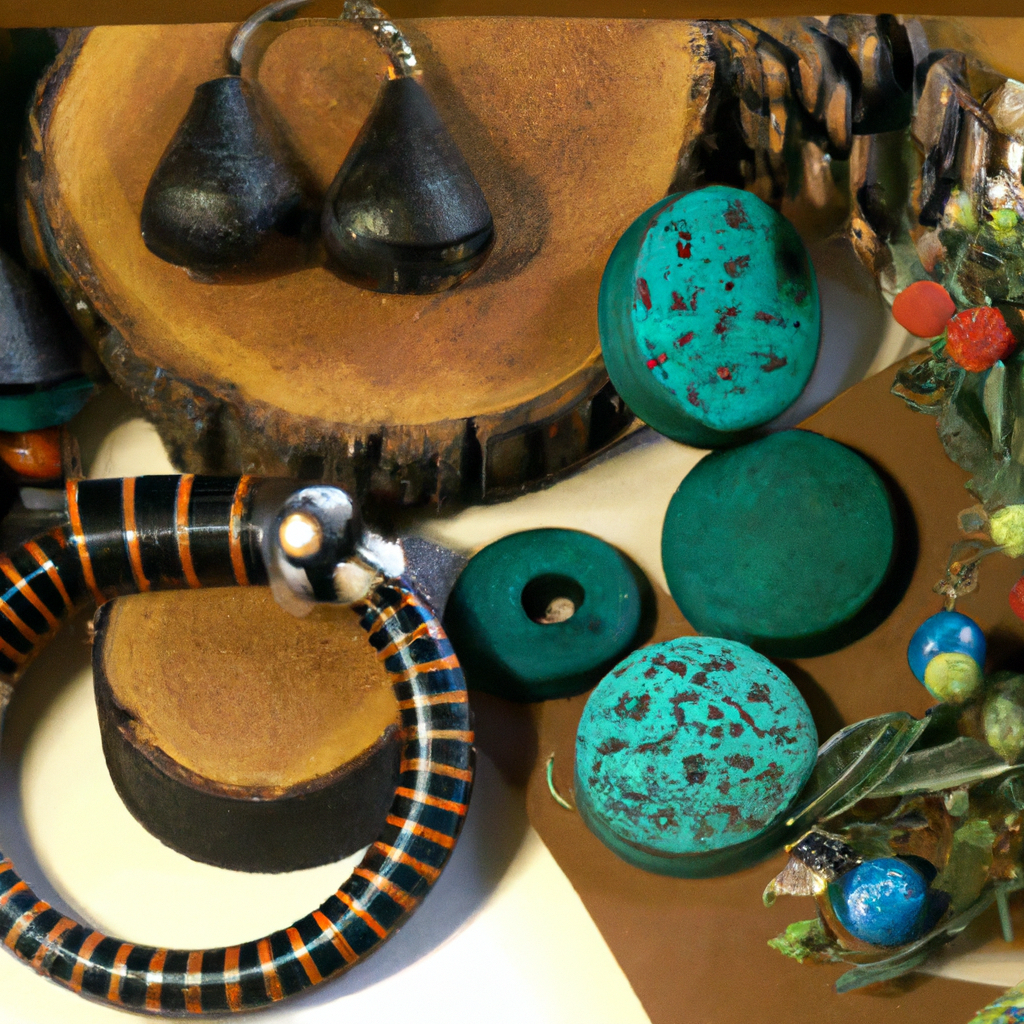
Painted wood jewelry is a popular form of handmade accessories that is both unique and artistic. Not only is it a sustainable and eco-friendly option, but it also offers endless possibilities for customization and personalization. In this article, we will explore the various techniques involved in creating painted wood jewelry, from selecting the right wood to adding the finishing touches.
Choosing the Right Wood
The first step in creating painted wood jewelry is selecting the right type of wood. Softwoods like pine and cedar are easy to work with and have a natural texture that can add depth to your designs. Hardwoods like oak and maple, on the other hand, are more durable and will last longer. When choosing your wood, consider the size, shape, and thickness of the pieces.
Preparing the Wood
Before painting your wood, it is important to prepare it properly. Sanding the wood will remove any rough edges or imperfections and create a smooth surface for painting. Use a fine-grit sandpaper and work in the direction of the wood grain. After sanding, wipe the wood with a damp cloth to remove any dust or debris.
Applying a Base Coat
Applying a base coat of paint will help the colors of your design stand out and prevent the natural wood grain from showing through. Choose a color that complements your design and apply a thin layer of paint using a brush or sponge. Allow the paint to dry completely before moving on to the next step.
Creating the Design
The design is the most important part of creating painted wood jewelry. It is where you can let your creativity shine and make your piece truly unique. There are several techniques you can use to create your design, including:
– Stenciling: Using a pre-made stencil to create a pattern or image on the wood.
– Freehand Painting: Painting your design directly onto the wood using a brush or sponge.
– Decoupage: Adding paper or fabric to the wood using a decoupage medium and then painting over it.
– Wood Burning: Using a wood burning tool to create intricate designs on the wood.
Finishing Touches
Once you have completed your design, it is important to add the finishing touches to your painted wood jewelry. This includes adding a protective coating to prevent the paint from chipping or fading over time. There are several eco-friendly options for sealing your painted wood jewelry, including:
– Beeswax: A natural wax that can be melted and applied to the wood.
– Linseed Oil: A natural oil that can be applied to the wood to protect it and enhance its natural beauty.
– Shellac: A natural resin that can be applied to the wood to create a hard, durable finish.
DIY Painted Wood Jewelry
Creating your own painted wood jewelry is a fun and rewarding DIY project that anyone can try. With the right techniques and materials, you can create unique and artistic pieces that reflect your personal style. Whether you are a seasoned crafter or a beginner, painted wood jewelry is a great way to express your creativity and make a sustainable fashion statement.
In conclusion, painted wood jewelry is a beautiful and sustainable accessory that can be created using a variety of techniques. From choosing the right wood to adding the finishing touches, each step in the process is important to ensure a successful outcome. By following these techniques, you can create your own unique and artistic pieces of painted wood jewelry that are both eco-friendly and fashionable.


