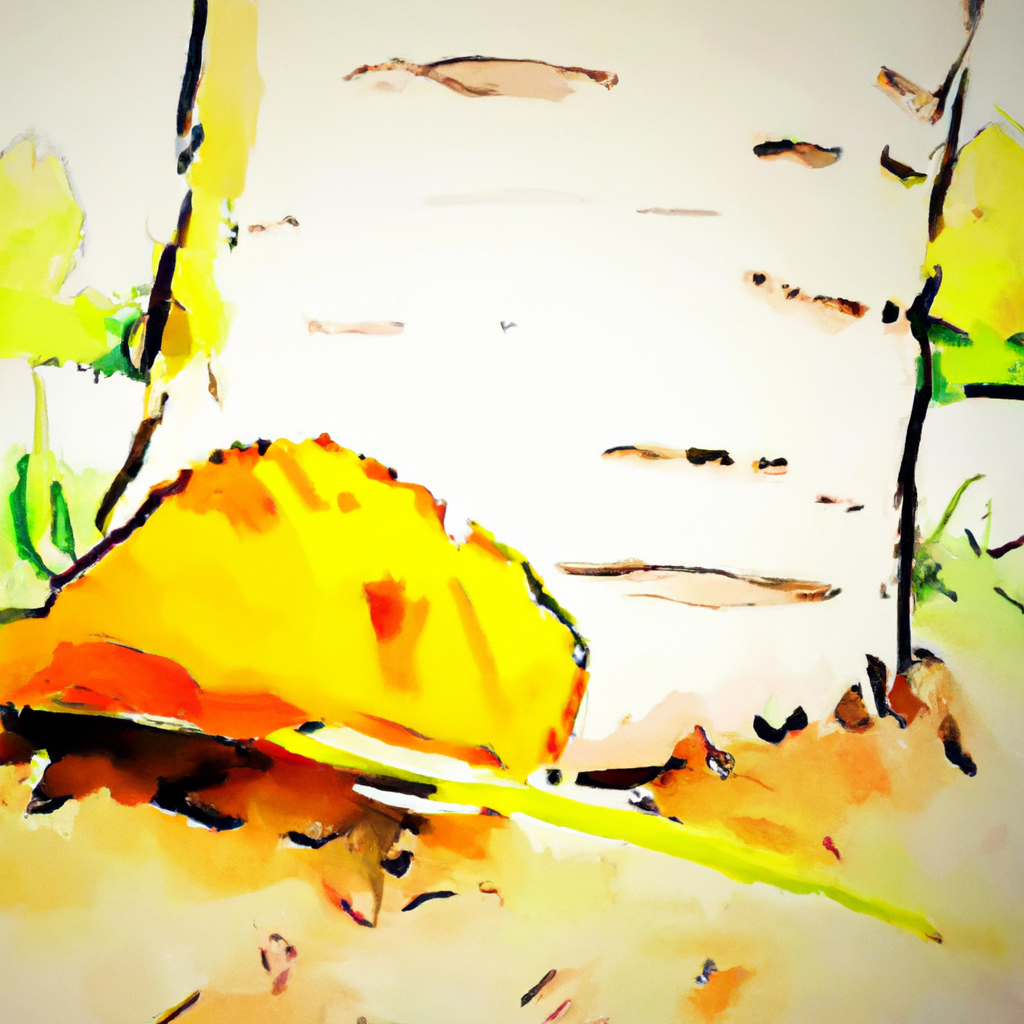
Watercolor pencil art has become increasingly popular in recent years due to its versatility and ease of use. Unlike traditional watercolors, watercolor pencils allow artists to have more control over the paint’s application, making it easier to create fine details and intricate designs. But what are the techniques involved in creating watercolor pencil art? In this article, we’ll explore the tips and step-by-step guide to help you create stunning watercolor pencil art.
Choosing the right materials
Before diving into the techniques, it’s essential to choose the right materials. When it comes to watercolor pencils, there are several options available in the market. However, not all pencils are created equal. Professional-grade watercolor pencils tend to be of higher quality, providing a better range of colors and longer-lasting pigments. Some of the best watercolor pencils brands include Faber-Castell, Derwent, and Prismacolor.
Aside from the watercolor pencils, you’ll also need watercolor paper, a watercolor brush, a container of water, and a pencil sharpener. Watercolor paper is essential because it’s specifically designed to hold water without tearing or bleeding. Additionally, you’ll need a brush to apply water to your drawing. A container of water is also necessary to rinse your brush between colors.
Techniques for creating watercolor pencil art
Once you have your materials, it’s time to start creating. Here are the techniques involved in creating watercolor pencil art:
1. Sketching: Start by sketching your design with a graphite pencil. Ensure that the lines are light and barely visible as you’ll need to erase them later.
2. Coloring: With your watercolor pencils, start coloring your design. Begin with light colors and build up to darker shades. Use a light hand to avoid over saturating your paper with pigments.
3. Blending: After coloring your design, use a watercolor brush to blend the colors. Dip your brush into the water and lightly brush over the pigments. This will activate the water-soluble pigments in the pencils, creating a watercolor effect.
4. Layering: Once the initial layer of pigments is dry, add another layer of colors. This will create depth and dimension to your design.
5. Detailing: Use a fine-tipped watercolor brush to add details to your drawing. This will give your design a more polished and professional look.
Tips for creating watercolor pencil art
1. Practice: Like any art form, practice makes perfect. Experiment with different techniques and color combinations to find what works best for you.
2. Use a light hand: Watercolor pencils are highly pigmented, so it’s essential to use a light hand when coloring. Avoid pressing too hard, as this can damage the paper.
3. Use quality materials: Investing in professional-grade watercolor pencils and paper will make a significant difference in the quality of your art.
4. Be patient: Watercolor pencil art requires patience and precision. Take your time and enjoy the process.
Conclusion
Creating watercolor pencil art is a fun and relaxing way to express yourself creatively. By following the techniques and tips outlined in this article, you’ll be well on your way to creating stunning watercolor pencil art. Remember to choose quality materials, practice regularly, and be patient. With time and dedication, you’ll be creating beautiful watercolor pencil art in no time.


