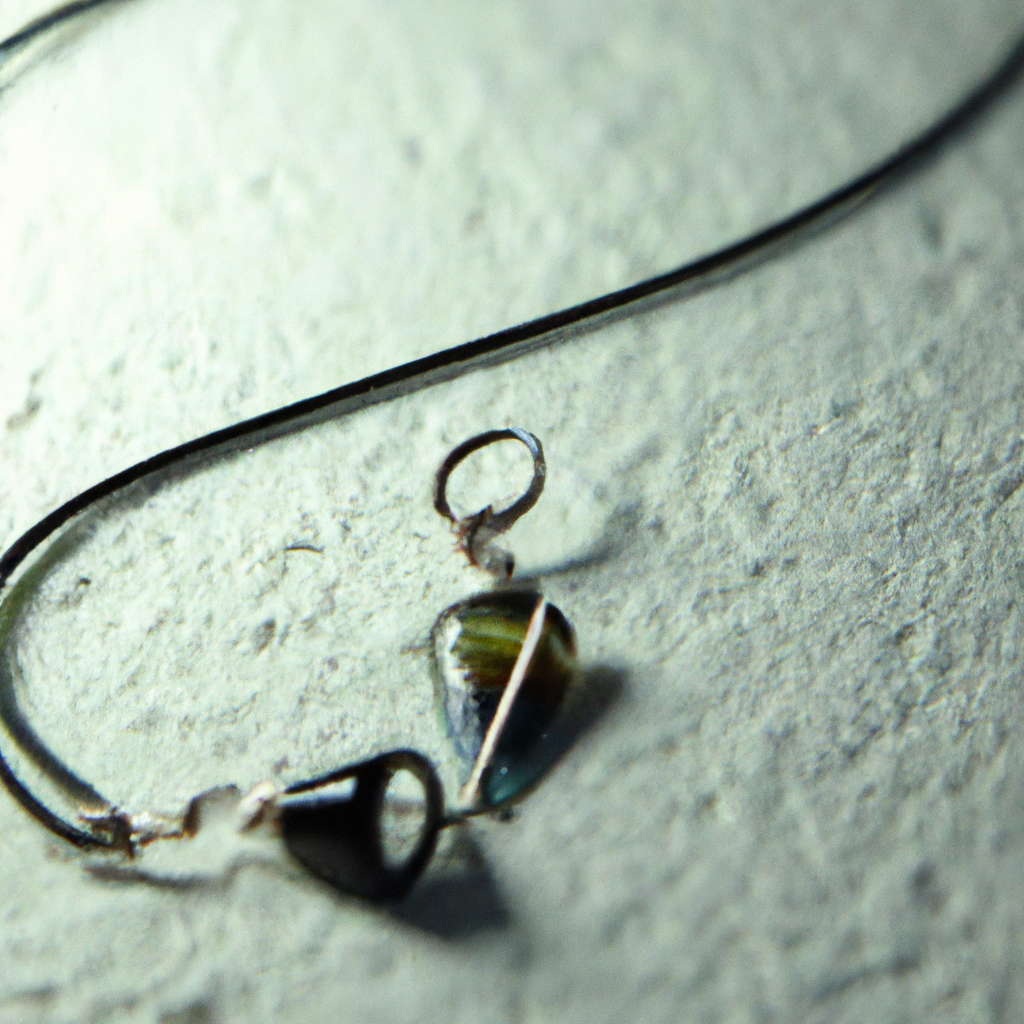
Wire wrapped jewelry is a popular trend in the world of DIY jewelry making. It involves wrapping wire around a stone, bead, or other object to create a unique and handmade piece of jewelry. In this article, we will explore the various techniques involved in creating wire wrapped jewelry and offer some tips and tricks to help you get started on your own handmade wire jewelry.
Materials Needed for Wire Wrapped Jewelry
Before we dive into the techniques, let’s first discuss the materials needed for wire wrapped jewelry. You will need the following:
– Wire cutters: to cut the wire to the desired length
– Round-nose pliers: to create loops and curves in the wire
– Flat-nose pliers: to hold and bend the wire
– Chain-nose pliers: to grip and shape the wire
– Wire: you can use a variety of wire, including copper, brass, sterling silver, and gold-filled wire. The gauge of the wire will depend on the project you are working on.
Now that we have covered the necessary materials, let’s move on to the wire wrapping techniques.
Techniques for Wire Wrapped Jewelry
1. Basic Loop
The basic loop is the foundation for many wire wrapped jewelry designs. To create a basic loop:
– Cut a piece of wire to the desired length
– Using round-nose pliers, bend the wire at a 90-degree angle about 1 inch from the end of the wire
– Using the same pliers, create a loop by bending the wire towards the center
– Use flat-nose pliers to hold the loop and grip the wire where it crosses over itself
– Using your other hand, wrap the wire around the base of the loop two or three times
– Trim off any excess wire with wire cutters
2. Wrapped Loop
The wrapped loop is a variation of the basic loop and is commonly used to connect different components in a piece of wire wrapped jewelry. To create a wrapped loop:
– Follow the steps for creating a basic loop, but instead of trimming the wire, wrap it around the base of the loop several times
– Trim off any excess wire with wire cutters
– Use chain-nose pliers to grip the wire where it meets the loop and bend it at a 90-degree angle
– Using round-nose pliers, create a second loop in the wire
– Wrap the wire around the base of the loop two or three times
– Trim off any excess wire with wire cutters
3. Coiled Wire
Coiling wire is a great way to add texture and interest to your wire wrapped jewelry. To create a coiled wire:
– Cut a piece of wire to the desired length
– Using a mandrel or a pen, wrap the wire around it tightly
– Remove the wire from the mandrel and slide it off
– Use flat-nose pliers to flatten the coiled wire and shape it into the desired shape
4. Basket Weave
The basket weave technique involves weaving wire over and under each other to create a textured and unique design. To create a basket weave:
– Cut two pieces of wire to the desired length
– Using flat-nose pliers, bend the wires at a 90-degree angle about 1 inch from the end of the wire
– Cross the wires over each other and twist them together
– Starting from the twist, weave one wire over and under the other wire, repeating until the desired length is reached
– Twist the wires together at the end to secure the weave
Conclusion
Wire wrapped jewelry is a fun and creative way to make your own handmade jewelry. By using different wire wrapping techniques, you can create a variety of unique and beautiful pieces. Whether you are a beginner or an experienced jewelry maker, these techniques will help you get started on your wire wrapped jewelry journey. Don’t be afraid to experiment and try new things – the possibilities are endless!


