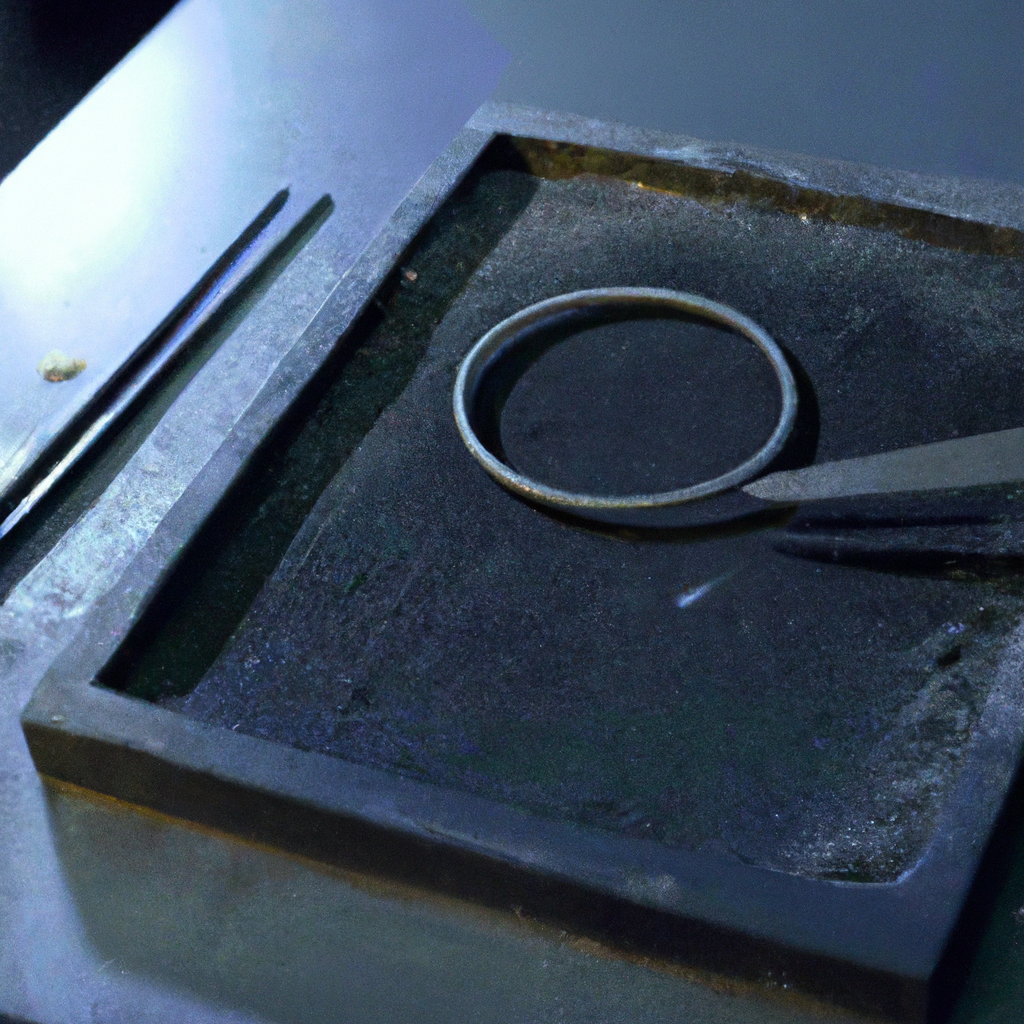
Crafting jewelry is an art that takes time, patience, and skill. The process can be challenging, but the final product is worth the effort. Precious metal clay jewelry is a unique form of jewelry that is gaining popularity among jewelers and enthusiasts. This type of jewelry is made using a special type of clay, which is mixed with precious metals such as gold, silver, and copper. In this article, we will delve into the process involved in creating precious metal clay jewelry.
Introduction to Precious Metal Clay Jewelry
Precious metal clay (PMC) is a type of clay that is mixed with precious metals to create jewelry. The clay is made up of small particles of metal that are suspended in a binder. This binder allows the clay to be molded and shaped like regular clay. PMC comes in different forms such as silver clay and gold clay. It is a versatile material that can be used to create a variety of jewelry designs.
Beginner’s Guide to PMC Jewelry Making
If you are new to PMC jewelry making, it is essential to understand the process involved. The following steps will guide you through the process of creating your own precious metal clay jewelry.
Step 1: Design your Jewelry
Before starting the process of making your PMC jewelry, you need to have a design in mind. Sketch your design on paper or use a computer-aided design (CAD) program to create a 3D model. This will help you visualize the final product and make necessary adjustments.
Step 2: Prepare the Clay
PMC comes in a dry form that needs to be reconstituted with water. Follow the manufacturer’s instructions to ensure that you mix the clay correctly. Knead the clay until it is smooth and pliable.
Step 3: Shape the Clay
Using your hands or tools, shape the clay into the desired form. You can use molds or templates to create a specific shape. Make sure that your design is symmetrical and has a smooth surface.
Step 4: Dry the Clay
Once you have shaped the clay, let it dry completely. This can take anywhere from a few hours to a few days, depending on the thickness of the clay and the humidity in your environment.
Step 5: Fire the Clay
PMC jewelry needs to be fired in a kiln to burn off the binder and fuse the metal particles together. Place the dry clay on a kiln shelf and follow the manufacturer’s instructions for firing. The temperature and firing time will vary depending on the type of PMC you are using.
Step 6: Polish and Finish
After firing, the jewelry will need to be cleaned and polished. Use a polishing cloth or a polishing machine to bring out the shine of the metal. You can also add additional details or embellishments to your jewelry at this stage.
Metal Clay Jewelry Techniques
Creating jewelry with PMC requires specific techniques to achieve the desired result. Here are some metal clay jewelry techniques to consider:
– Molding: Use molds or templates to create a specific shape for your jewelry.
– Texturing: Use texture plates, stamps, or carving tools to add texture to your jewelry.
– Layering: Layer different types of PMC on top of each other to create a unique design.
– Embedding: Embed stones, beads, or other materials into your PMC jewelry.
Metal Clay Jewelry Making Tips
Here are some tips to help you create beautiful PMC jewelry:
– Keep your work area clean and organized to prevent contamination of your clay.
– Use a spray bottle to keep your clay moist while working with it.
– Use a soft-bristled brush to clean your jewelry after firing.
– Experiment with different types of PMC to find the one that works best for your design.
Conclusion
Creating precious metal clay jewelry is a rewarding experience that requires skill and patience. By following these steps and techniques, you can create beautiful and unique pieces of jewelry that will last a lifetime. Remember to take your time and experiment with different designs and techniques to find what works best for you. Happy crafting!


