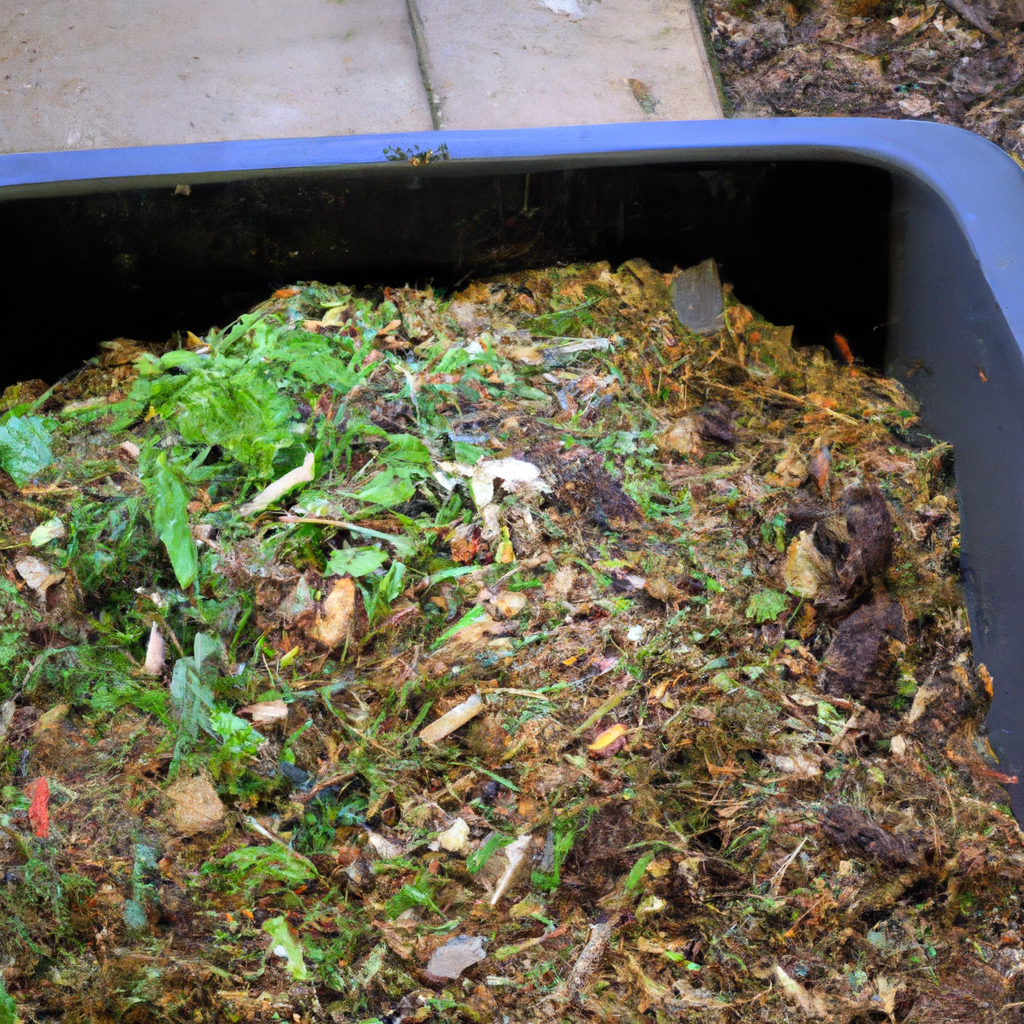
Composting at home is an eco-friendly way of reducing waste and benefiting your garden or plants. It is a simple process of breaking down organic waste like food scraps and garden waste into rich, nutrient-dense soil. DIY composting is becoming increasingly popular as people are becoming more conscious of their environmental impact and looking for ways to reduce waste. In this article, we will discuss the process of making your own compost at home, including everything you need to know to get started with homemade compost.
The Composting Process
Composting is a natural process that involves decomposing organic matter into nutrient-rich soil. The process involves four main components: carbon-rich materials, nitrogen-rich materials, water, and air. Carbon-rich materials include dry leaves, twigs, and newspaper, while nitrogen-rich materials include food scraps and grass clippings. It is essential to maintain the correct balance of these materials for successful composting.
Step 1: Choose a Composting Method
There are several composting methods to choose from, including traditional composting, vermicomposting, and bokashi composting. Traditional composting involves layering organic matter and allowing it to decompose over time. Vermicomposting involves using worms to break down organic matter, while bokashi composting uses a fermented mixture to break down organic matter.
Step 2: Choose a Composting Container
The size and type of container you choose will depend on the amount of waste you produce and the available space you have. You can use a compost bin, a compost tumbler, or build your own compost pile. A compost bin is a good option for small gardens or balconies, while a compost tumbler is great for larger gardens and yards.
Step 3: Add Organic Material
The first step in creating homemade compost is to add organic material to your composting container. This includes food scraps, leaves, grass clippings, and other organic waste. It is essential to chop or shred the material into smaller pieces to speed up the composting process.
Step 4: Add Water
Moisture is vital for the composting process, and adding water helps to keep the compost moist. However, too much water can make the compost too wet and slow down the composting process. A good rule of thumb is to keep the compost moist, but not soaking wet.
Step 5: Turn the Compost
Turning the compost helps to aerate it and speed up the composting process. It is essential to turn the compost every few weeks to ensure that all the materials decompose evenly. If you are using a compost tumbler, simply turn the tumbler every few days.
Step 6: Harvest the Compost
After a few months, your compost will be ready to use. You will know the compost is ready when it is dark, crumbly, and smells earthy. Use a shovel or garden fork to remove the compost from the container, and use it to fertilize your garden or plants.
Composting Tips
Here are some tips to help you get the most out of your homemade compost:
– Maintain the correct balance of carbon-rich and nitrogen-rich materials for successful composting.
– Chop or shred organic material into smaller pieces to speed up the composting process.
– Keep the compost moist but not soaking wet.
– Turn the compost every few weeks to aerate it and speed up the composting process.
– Avoid adding meat, dairy, and oily foods to your compost as they can attract pests and slow down the composting process.
– Use your finished compost to fertilize your garden or plants.
Conclusion
Making your own compost at home is a simple and effective way to reduce waste and benefit your garden or plants. The process involves adding organic material to a composting container, maintaining the correct balance of carbon-rich and nitrogen-rich materials, adding water, turning the compost, and harvesting the finished compost. By following these steps and tips, you can create nutrient-rich soil that will help your plants thrive. So, start composting today and make a positive impact on the environment.


