Here I share with you the quickest and easiest way to make a Bootable USB thumb drive on a windows computer. For this guide I will use a windows 10 environment.
We will use the built in disk partitioning tool of the Microsoft windows, which is refereed to as DiskPart in short.
Tested on
I have successfully tested this method on following operating systems.
- Windows XP
- Windows Vista
- Windows 7
- Windows 8
- Windows 10
- Windows Server 2003
- Windows Server 2008
- Windows Server 2012
Steps
1. Plug your USB drive and note the capacity (This comes handy when selecting the drive).
2. Open diskpart prompt (You can follow either Command prompt or Run box approach for this)
Command prompt
Windows XP: All Programmes -> Accessories -> Command Prompt
Windows Vista and later: Just search cmd on the start menu and click on the black console icon.
Type diskpart in the cmd console and press enter to open the diskpart.
Run box
Press Win + R from your keyboard. Type diskpart on the input box and click OK to open the diskpart.

3. Once diskpart prompt is open use below command to list all drives.
list disk
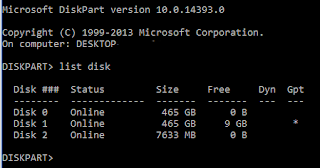
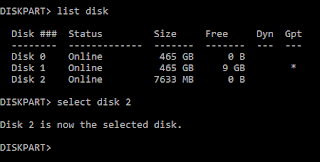
4. then carefully select your USB disk. Yes the only clue is the capacity and that’s why we noted the disk capacity in the first step :).
select disk 2
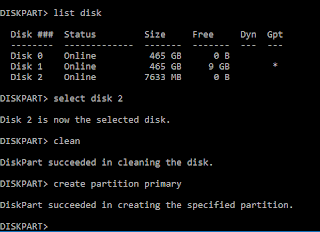
5. We should wipe out everything on the disk with the “clean” command
clean

6. Let’s create a partition
create partition primary
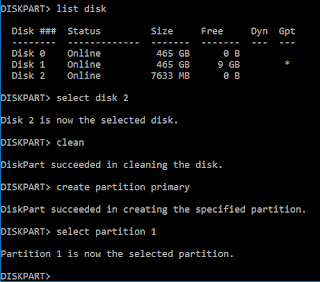
7. and then we need to select the created partition.
select partition 1
8. once selected we can activate the partition
active

9. Now we need to format the partition in NTFS format. Make sure you use the quick mode unless you have some prison break episode with you to watch while formatting happens :).
format fs=ntfs quick
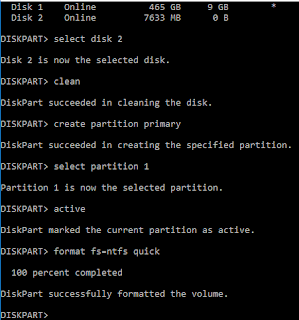
10. We just created a bootable USB drive and say goodbye to diskpart
exit

Finally, your pen-drive is ready to copy any of your booting media and carry with you as a portable bootable device, to boot USB boot supported device.
Hope this helped.

