Installing a Drip Irrigation System at Home: A Comprehensive Guide
Watering your garden can be a tedious and time-consuming task, especially if you have a large garden. However, with a drip irrigation system, you can save time and water while ensuring that your plants get the right amount of water they need to thrive. In this article, we will guide you on how to install a drip irrigation system at home, step by step.
What is a Drip Irrigation System?
A drip irrigation system is a type of home irrigation system that delivers water to your plants through a network of pipes, tubes, and emitters. The system works by dripping water slowly and directly to the roots of your plants, reducing water waste and minimizing evaporation. Drip irrigation systems are also known as water-saving irrigation systems because they use up to 50% less water than traditional sprinkler systems.
DIY Irrigation System: What You Need
Before you start installing your drip irrigation system, you need to gather the necessary irrigation supplies. Here are the items you will need:
● Drip irrigation tubing
● Emitters
● Pressure regulator
● Backflow preventer
● Timer
● End cap
● Connector fittings
● Hole punch
● Scissors
Step-by-Step Guide to Installing Your Drip Irrigation System
1. Plan Your Garden Irrigation System
The first step in installing your drip irrigation system is to plan your garden irrigation system. You need to determine where you want your emitters to be placed and how many you need. This will depend on the size of your garden and the number of plants you have. You can use a garden hose to layout the tubing and determine the placement of the emitters.
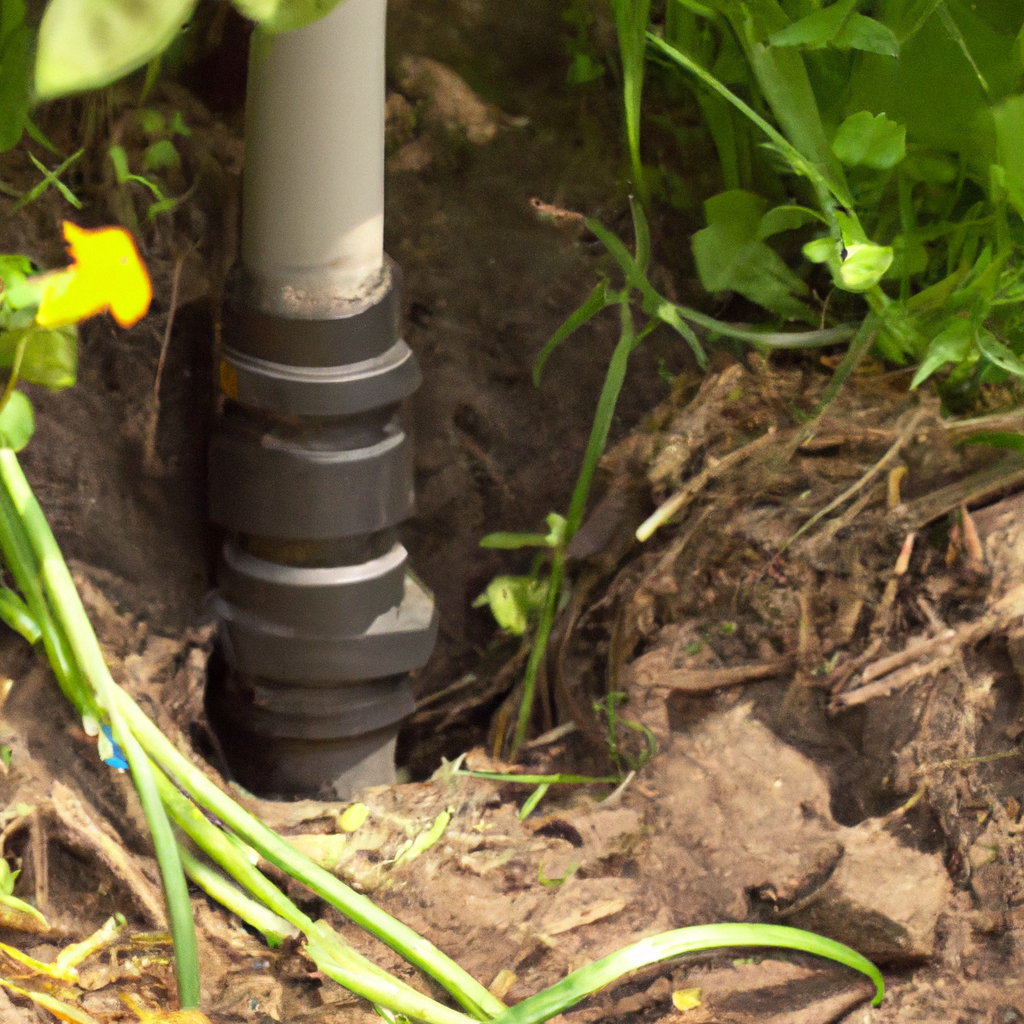
2. Install the Backflow Preventer
The backflow preventer is a valve that prevents water from flowing back into your home’s water supply. Install the backflow preventer at the point where the main water line enters your yard. You can hire a professional plumber to install the backflow preventer if you are not comfortable doing it yourself.
3. Install the Pressure Regulator
A pressure regulator is necessary to reduce the pressure of the water to prevent your tubing and emitters from bursting. Install the pressure regulator after the backflow preventer.
4. Install the Timer
The timer controls the frequency and duration of watering. You can set it to water your plants at specific times of the day or week. Install the timer after the pressure regulator.
5. Install the Tubing
Cut the tubing to the desired length and connect it to the pressure regulator using connector fittings. Make sure the tubing is secured tightly to prevent leaks.
6. Install the Emitters
Emitters are small devices that drip water slowly to your plants. Punch holes in the tubing using a hole punch and insert the emitters into the holes. Make sure the emitters are placed close to the plants’ roots to maximize water absorption.
7. Test Your Drip Irrigation System
After installing the tubing and emitters, turn on the water and check for leaks. Adjust the timer to ensure that your plants get the right amount of water they need.
Conclusion
Installing a drip irrigation system at home can be a rewarding and cost-effective way to water your garden. With this comprehensive guide, you can install your own DIY irrigation system and enjoy the benefits of water conservation and efficient plant watering. Remember to plan your garden irrigation system, gather the necessary irrigation supplies, and follow the step-by-step guide to ensure a successful installation.