Cyanotype art is a type of alternative photography that has gained popularity in recent times. It is a unique and creative way to make handmade and DIY prints that are stunningly beautiful. The process of creating cyanotype art involves several techniques that are used to create a blueprint of an image. In this article, we will explore the techniques involved in creating cyanotype art.
What is Cyanotype Art?
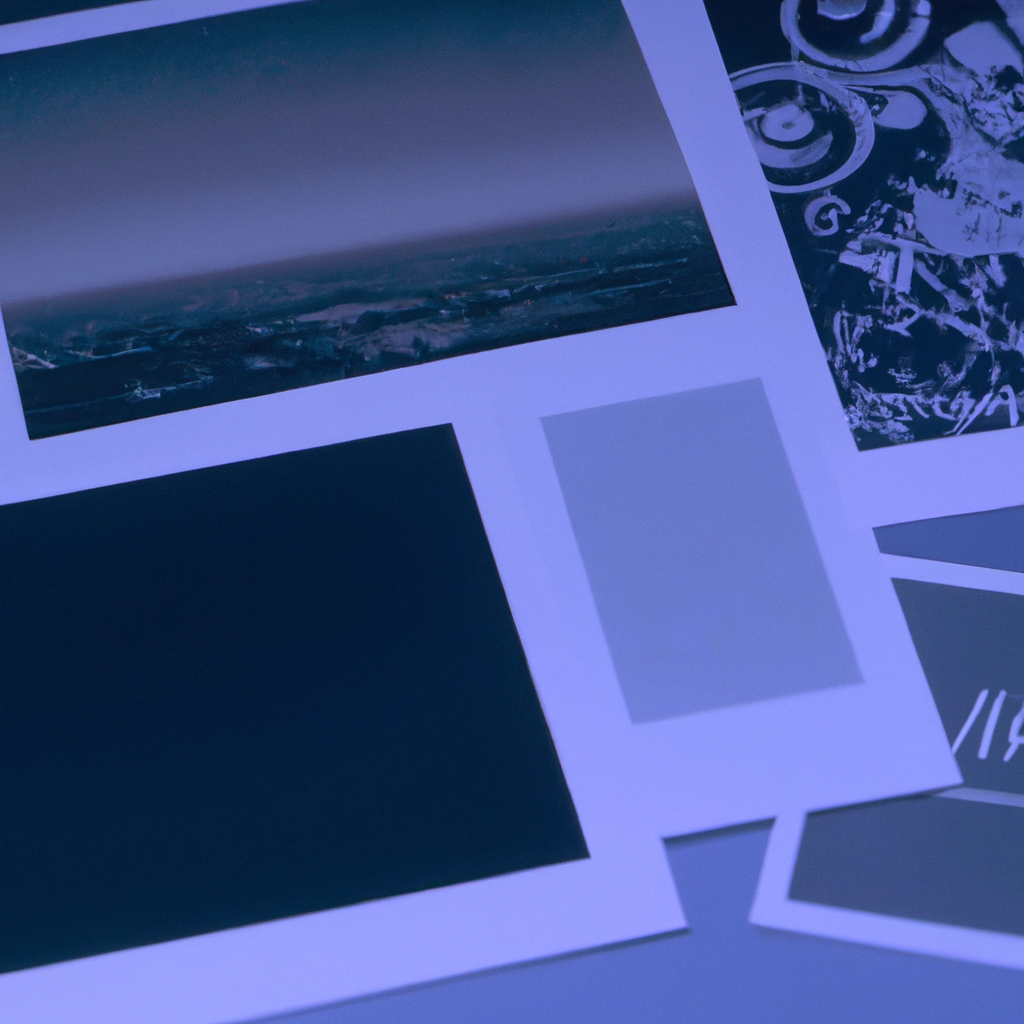
Cyanotype art is a type of photography that uses the sun to create a unique and handmade print. It is a process that was invented in the 19th century by Sir John Herschel. It involves coating a piece of paper with a light-sensitive chemical solution that is then exposed to sunlight. The sun’s UV rays then react with the chemical solution, creating a blue and white image.
Creating Cyanotype Art
Creating cyanotype art involves several techniques that are used to produce a beautiful and unique print. Here are the techniques involved in creating cyanotype art:
1. Choosing the Image
The first step in creating cyanotype art is choosing the image you want to print. You can use any image you want, but it’s best to use an image with high contrast. This is because the cyanotype process produces a blue and white image, and high contrast images work best.
2. Preparing the Solution
The next step is to prepare the cyanotype solution. The solution is made up of two chemicals: ferric ammonium citrate and potassium ferricyanide. These chemicals are mixed together in equal parts and dissolved in water. The solution is then applied to the paper you want to print on.
3. Coating the Paper
Once the solution is prepared, you can coat the paper you want to print on. You can use any type of paper, but it’s best to use watercolor paper or paper that is coated with a thin layer of gelatin. The paper is coated with the cyanotype solution using a brush or a foam roller.
4. Drying the Paper
After coating the paper with the cyanotype solution, it needs to be dried. The paper is left to dry in a dark place away from sunlight. This is important because the solution is sensitive to light, and exposure to light can ruin the print.
5. Printing the Image
Once the paper is dry, you can print the image. You can do this by placing the image you want to print on top of the paper and exposing it to sunlight. The UV rays from the sun will react with the cyanotype solution, creating a blue and white image.
6. Washing the Paper
After printing the image, the paper needs to be washed. The paper is washed in water to remove the unexposed cyanotype solution. The image is then revealed, creating a beautiful and unique print.
Conclusion
Creating cyanotype art is a fun and creative way to make handmade and DIY prints. The process involves several techniques that are used to create a blueprint of an image. With the right materials and a little bit of practice, anyone can create beautiful cyanotype prints.