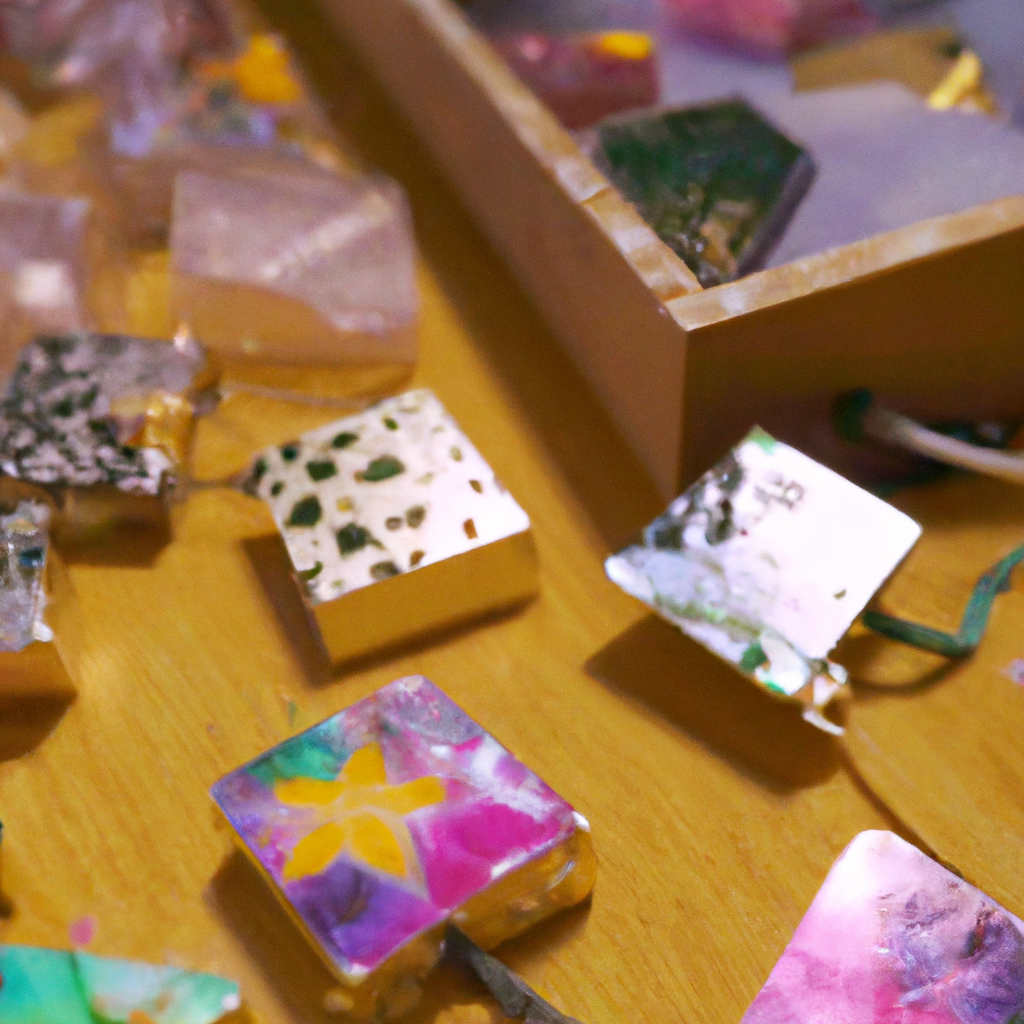
Recycled Candy Box Jewelry: Techniques and Tips
DIY jewelry is a fun and creative way to express your style, and what better way to do it than with sustainable fashion? Upcycling candy boxes into unique pieces of jewelry is not only an eco-friendly activity, but it also allows you to showcase your creativity and imagination. In this article, we will explore the techniques involved in creating recycled candy box jewelry, so you can get started on your own project.
Materials Needed
Before we delve into the techniques, let’s first talk about the materials you will need. Here are the basic supplies for this project:
– Candy boxes (preferably those made of cardboard)
– Scissors
– Ruler
– Pencil
– Glue (preferably a strong adhesive)
– Jewelry findings (earring hooks, jump rings, clasps, etc.)
– Paint (optional)
Now that you have your materials ready, let’s move on to the techniques.
Technique #1: Cutting and Measuring
The first step in creating recycled candy box jewelry is to cut and measure the candy box. You can use scissors to cut out the desired shape and size for your jewelry piece. You can also use a ruler to ensure that your measurements are accurate. For example, if you want to create a pair of earrings, you can cut out two identical shapes for each earring.
Technique #2: Painting and Decorating
If you want to add some color and personality to your recycled candy box jewelry, you can paint and decorate it. You can use acrylic paint or any other type of paint that works with cardboard. You can also use markers, stickers, or any other decorative materials that you have on hand. Let your creativity run wild and add any embellishments that you like.
Technique #3: Gluing and Assembling
Once you have cut and decorated your candy box pieces, it’s time to assemble them into jewelry. You can use a strong adhesive, such as E6000 glue, to attach the jewelry findings to your candy box pieces. For example, if you want to create a pendant, you can glue a jump ring to the top of the candy box piece. If you want to create earrings, you can attach earring hooks to the top of each candy box piece.
Technique #4: Finishing Touches
After you have assembled your recycled candy box jewelry, you can add some finishing touches to make it look polished and professional. You can use sandpaper to smooth out any rough edges or imperfections. You can also add a coat of varnish or clear nail polish to protect your jewelry from wear and tear.
Tips for Creating Recycled Candy Box Jewelry
Here are some additional tips to keep in mind as you create your own recycled candy box jewelry:
– Experiment with different shapes and sizes to create unique pieces.
– Use contrasting colors or patterns to make your jewelry stand out.
– Use a thicker cardboard or multiple layers of candy box pieces to create more durable jewelry.
– Don’t be afraid to mix and match different candy boxes to create a one-of-a-kind piece.
– Use jewelry pliers to make it easier to attach findings and assemble your jewelry.
Conclusion
Creating recycled candy box jewelry is a fun and sustainable way to express your style. With just a few simple techniques and some basic supplies, you can transform candy boxes into unique and beautiful pieces of jewelry. Whether you’re making earrings, a necklace, or a bracelet, the possibilities are endless. So, grab some candy boxes and get started on your own DIY jewelry project today!


