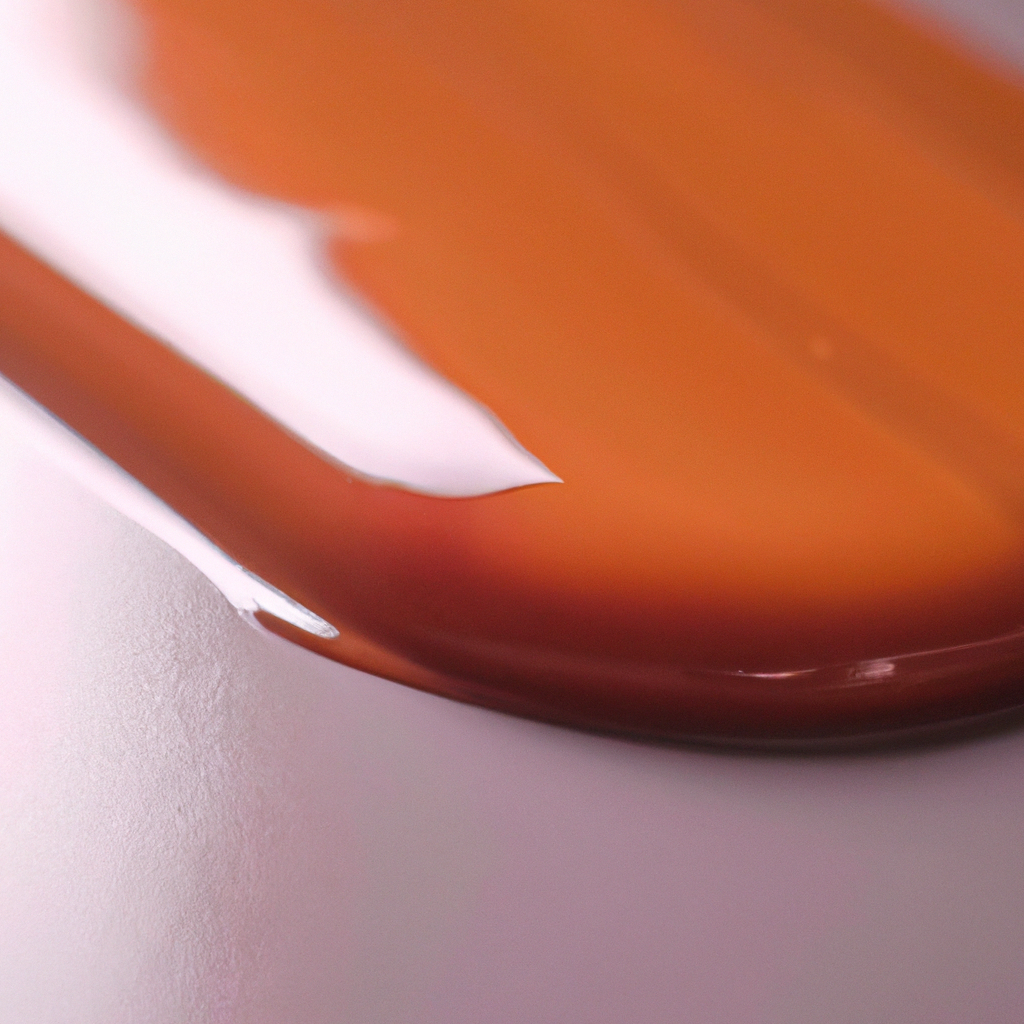
Resin art is a creative and fascinating way of expressing oneself through unique and personalized artwork. With its versatility and durability, resin art has become increasingly popular in recent years. This guide will explore the techniques involved in creating resin art, materials needed, and tips for beginners to create their own DIY resin art.
Techniques Involved in Creating Resin Art
1. Mixing Resin: Resin is a two-part material consisting of a hardener and a resin. The two parts must be mixed in the correct proportions to create a smooth and even mixture. Use a designated mixing cup and stirrer to ensure that the mixture is well-blended.
2. Adding Pigments: Once the resin and hardener are mixed, you can add pigments or colors to create beautiful and unique designs. You can use acrylic paints, mica powders, or even alcohol inks to add color to the resin.
3. Pouring Resin: Pour the resin mixture onto a clean and level surface. Use a spreader or a brush to spread the mixture evenly across the surface. You can also use a heat gun or a torch to remove any bubbles that may have formed in the resin.
4. Embedding Objects: You can create interesting designs by embedding objects into the resin. Small objects such as shells, beads, or dried flowers can be placed into the resin before it dries. This creates a beautiful and unique look for your resin art.
Materials Needed for Resin Art
1. Resin and Hardener: The basic materials needed for resin art are the resin and hardener. These can be purchased from any craft store or online.
2. Pigments: You can use acrylic paints, mica powders, or even alcohol inks to add color to the resin.
3. Mixing Cups and Stirrers: Use designated mixing cups and stirrers to ensure that the mixture is well-blended.
4. Spreader or Brush: You can spread the resin mixture evenly across the surface using a spreader or a brush.
5. Heat Gun or Torch: Use a heat gun or a torch to remove any bubbles that may have formed in the resin.
Tips for Beginners
1. Wear Protective Gear: Always wear protective gear such as gloves, a mask, and safety glasses when working with resin. Resin can be harmful if it comes into contact with your skin or eyes.
2. Use a Level Surface: Make sure that the surface you are working on is level and clean. Any bumps or debris can affect the final result of your resin art.
3. Practice on Small Surfaces: If you are new to resin art, it is best to practice on small surfaces before moving on to larger projects.
4. Plan Your Design: Plan your design before starting the project. This will help you to create a more cohesive and visually appealing final product.
5. Experiment with Pigments: Experiment with different pigments and colors to create unique and personalized designs.
In conclusion, creating resin art is a fun and creative way to express oneself through unique and personalized artwork. With the right techniques, materials, and tips for beginners, anyone can create beautiful and stunning resin art. Remember to wear protective gear, use a level surface, and plan your design before starting the project. Experiment with different pigments and colors to create unique and personalized designs. Happy resin art creating!


