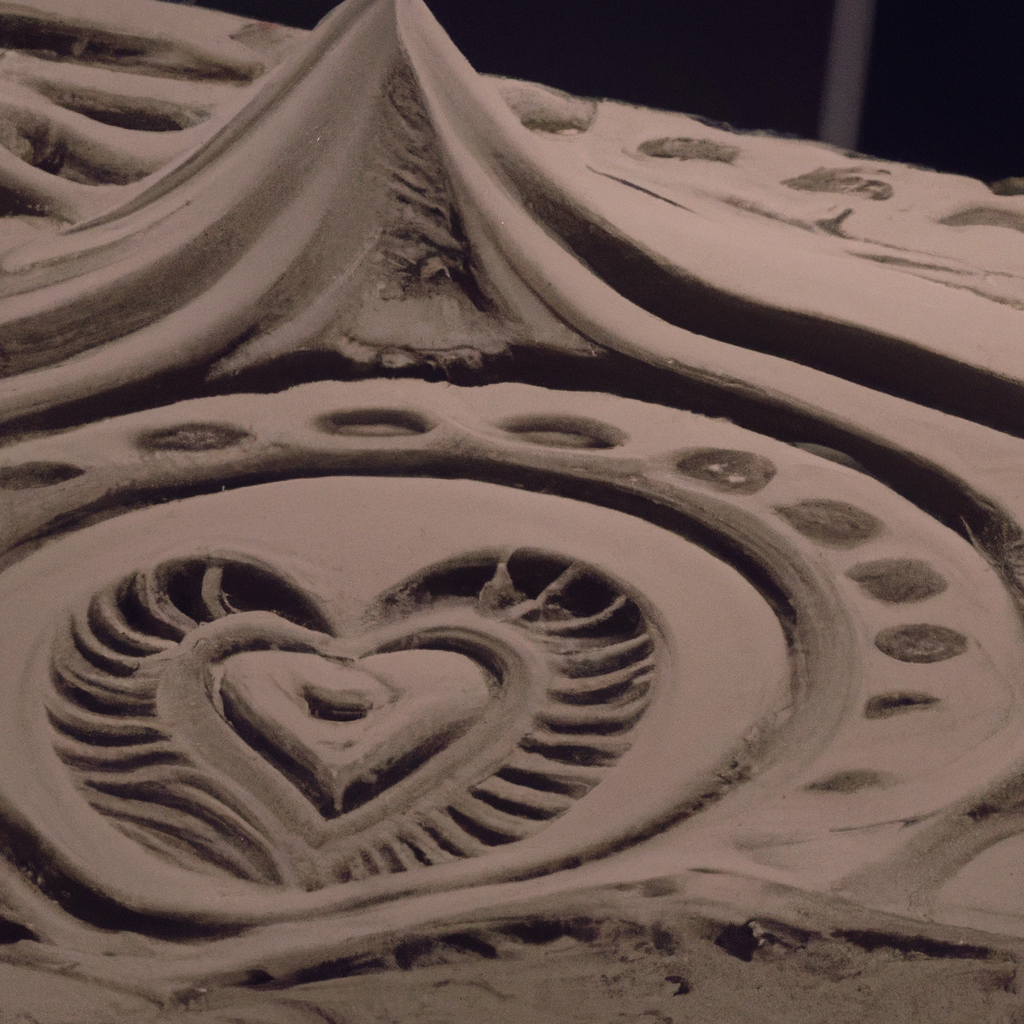
Sand art is a fascinating art form that involves creating designs and patterns using sand on a flat surface. It is a unique artistic expression that requires a lot of skill and creativity. Creating sand art can be both therapeutic and fun, and with the right techniques, you can create stunning designs that are breathtakingly beautiful. In this tutorial, we will be exploring the techniques involved in creating sand art, and how you can make your own beautiful designs at home.
Materials Required for Sand Art
Before we delve into the techniques of creating sand art, it is essential to have all the necessary materials. These include:
– Sand: You can use any type of sand, but fine-grained sand works best for detailed designs.
– A flat surface: This could be a piece of paper, cardboard, or any other surface that sand can easily stick to.
– Glue: You will need glue to fix the sand to the surface.
– A paintbrush: This will be used to apply the glue to the surface.
– A toothpick or needle: This will be used to create finer details in your design.
– A container: You will need a container to hold your sand while you work.
Techniques for Creating Sand Art
1. Choose a design: The first step in creating sand art is to choose a design. You can either draw your design freehand on the surface or use a stencil to create a more precise design.
2. Apply glue: Once you have your design in place, use a paintbrush to apply a thin layer of glue to the surface. Make sure the glue is evenly spread out over the design area.
3. Add sand: While the glue is still wet, gently sprinkle sand over the design. Make sure the sand covers the entire design area and press down gently to ensure it sticks to the glue.
4. Shake off excess sand: After the design is covered with sand, gently shake off any excess sand from the surface. You can also use a toothpick or needle to remove any sand that is not in the right place.
5. Add more details: If you want to add more details to your design, you can use a toothpick or needle to create finer lines or add more intricate patterns to your design. You can also mix different colors of sand to create more depth and dimension to your design.
6. Let it dry: Once you are satisfied with your design, let it dry completely. This can take a few hours or even overnight depending on the amount of glue and sand used.
7. Frame your art: Once your sand art is completely dry, you can frame it and display it in your home or office. You can also use it as a unique gift for your loved ones.
Tips for Creating Sand Art
– Use different colors of sand to create a more vibrant and colorful design.
– Experiment with different textures and patterns to create a unique design.
– Use a toothpick or needle to create finer details in your design.
– Work in a well-ventilated area to avoid inhaling too much sand.
– Use a container to hold your sand while you work to avoid making a mess.
Conclusion
Creating sand art is a fun and artistic way to express your creativity. With the right techniques, you can make beautiful designs that are both unique and captivating. By following this tutorial, you can create your own sand art at home and impress your friends and family with your artistic skills. So, grab your materials and let your creativity flow!