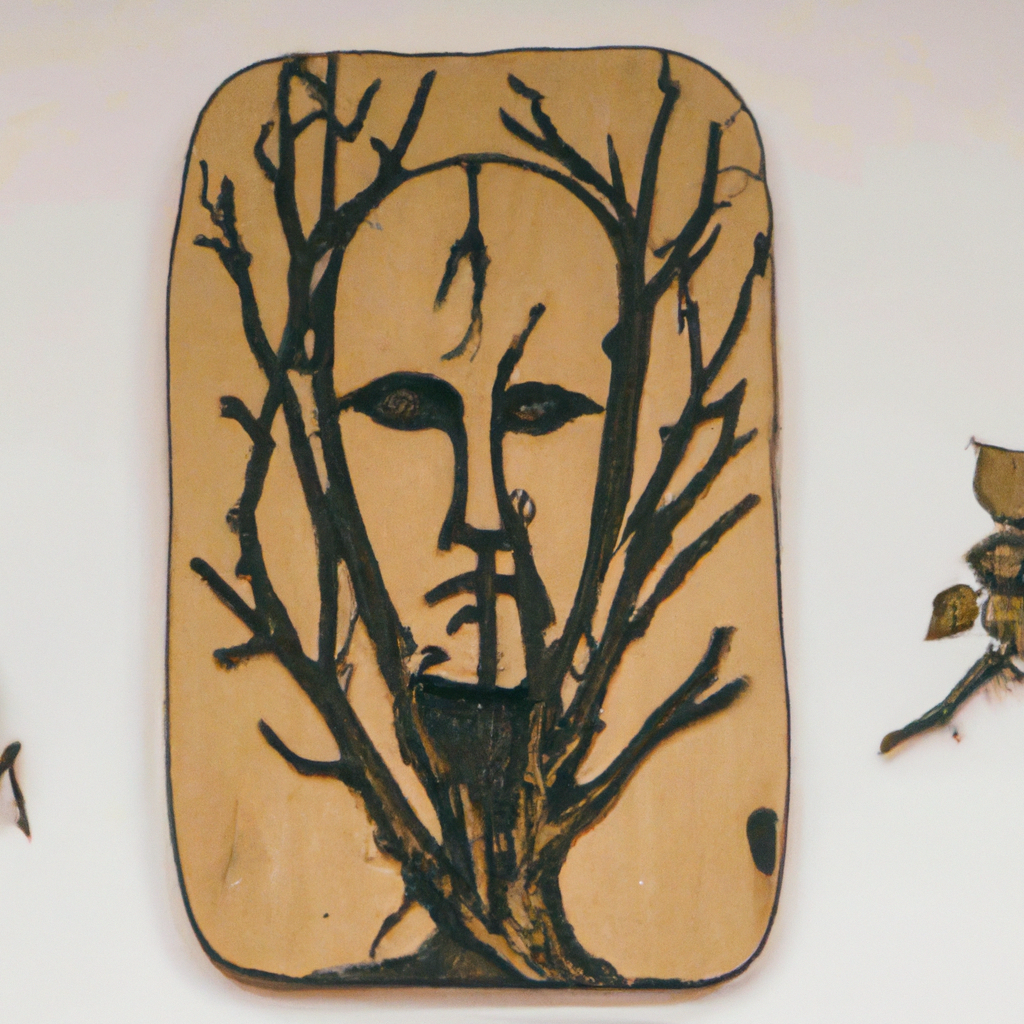
Scratchboard art is a unique and fascinating medium that has gained popularity in recent years. This form of art involves creating images by scratching a board’s surface to reveal a contrasting background. It requires careful planning and execution, as mistakes cannot be erased. In this article, we will discuss the techniques involved in creating scratchboard art, including materials, tools, and tips to help you create stunning pieces of art.
Materials Required
To create scratchboard art, the following materials are required:
– Scratchboard: It is a board coated with a thin layer of white clay, which is covered with black ink. The clay layer is scratched away to reveal the white surface beneath.
– Scratchboard tools: These are specialized tools used to scratch the surface of the board. They include a scratch knife, a scratch pen, and a scratch brush.
– Reference image: This could be a photograph or a drawing that you want to recreate in scratchboard art.
– Pencil: This is used to sketch the image onto the scratchboard before scratching.
– Eraser: This is used to remove any unwanted pencil marks.
How to Create Scratchboard Art
Step 1: Choose an Image
The first step in creating scratchboard art is to choose an image that you want to recreate. You can use any reference image, but it’s best to start with something simple if you’re new to scratchboard art.
Step 2: Sketch the Image
Once you have your reference image, use a pencil to sketch it onto the scratchboard. You can use a light hand to avoid leaving any unwanted marks.
Step 3: Start Scratching
Using a scratch knife, start scratching away the black ink on the board, following the lines of your sketch. Be careful not to scratch too hard, as you could damage the board. It’s best to start with light scratches and build up to deeper ones.
Step 4: Add Details
Once you’ve scratched the basic outline of your image, start adding details such as shading and texture. Use different scratchboard tools to create different effects. For example, use a scratch pen to create fine lines and a scratch brush to create a textured look.
Step 5: Clean Up
Once you’re done scratching, use an eraser to remove any unwanted pencil marks. You can also use a soft cloth to wipe away any excess ink or dust.
Scratchboard Art Tips
– Use a light hand when scratching to avoid damaging the board
– Start with simple images if you’re new to scratchboard art
– Experiment with different scratchboard tools to create different effects
– Take breaks to prevent eye strain and fatigue
– Keep your work area clean to avoid dust and debris settling on your scratchboard
Scratchboard Art Tutorial
If you’re looking for a more detailed tutorial on scratchboard art, there are many resources available online. YouTube is a great place to start, with many artists sharing their techniques and tips. You can also find books and online courses that cover the basics of scratchboard art and provide step-by-step instructions.
Conclusion
Scratchboard art is a unique and challenging medium that requires patience and skill. By following the techniques outlined in this article, you can create stunning pieces of art that showcase your creativity and talent. Remember to experiment with different tools and techniques, and don’t be afraid to make mistakes – they can often lead to unexpected and exciting results. With practice and dedication, you can master the art of scratchboard and create beautiful and intricate works of art.