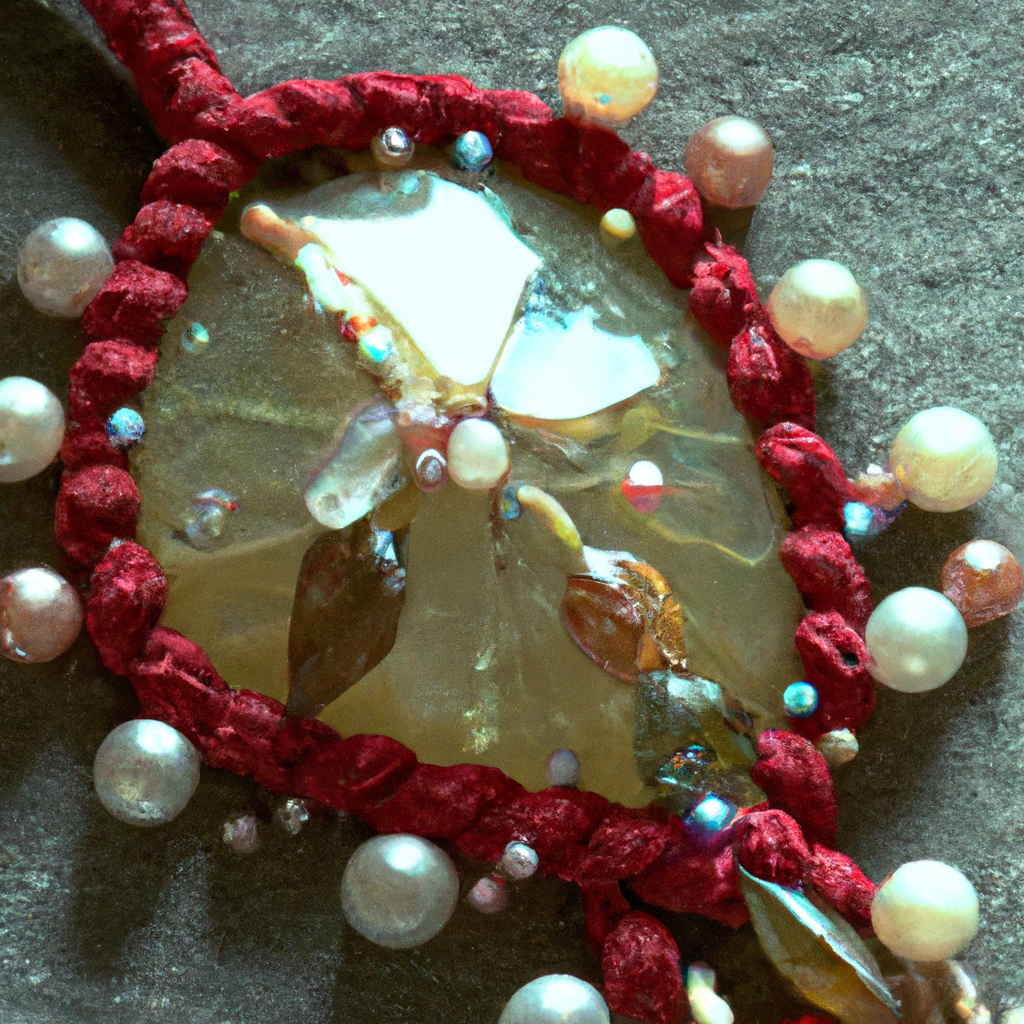
Creating second-hand fabric sample jewelry is a wonderful way to make use of fabric samples that would otherwise end up in the trash. Not only is it a sustainable and eco-friendly option, but it can also be a fun and creative DIY project. In this article, we will discuss the techniques involved in creating second-hand fabric sample jewelry, from selecting the right materials to adding embellishments and finishing touches.
Selecting the Right Materials
The first step in creating second-hand fabric sample jewelry is selecting the right materials. Fabric samples can be found at fabric stores, thrift stores, and even online marketplaces. Look for samples that are in good condition and have interesting patterns or textures. You can also mix and match different fabrics to create a unique and eclectic look.
Other materials you will need include:
– Scissors: A good pair of scissors is essential for cutting fabric and trimming threads.
– Glue: Fabric glue or hot glue can be used to attach embellishments and secure the fabric in place.
– Jewelry findings: You will need findings such as jump rings, clasps, and ear wires to attach the fabric to the jewelry.
– Embellishments: You can add embellishments such as beads, sequins, or embroidery to give your jewelry a personalized touch.
Creating the Jewelry
Once you have your materials, it’s time to start creating your jewelry. Here are some techniques you can use:
1. Cutting the Fabric
Start by cutting the fabric into the desired size and shape for your jewelry. You can use a template or trace a shape onto the fabric with a pencil and then cut it out with scissors.
2. Adding Embellishments
Next, you can add embellishments to the fabric. Beads, sequins, and embroidery can be sewn onto the fabric or glued in place with fabric glue or hot glue. You can also use ribbon, lace, or other trims to add texture and interest to your jewelry.
3. Attaching the Jewelry Findings
Once you have added your embellishments, it’s time to attach the jewelry findings. Jump rings can be used to connect the fabric to the clasp or ear wire. You can also use wire to create loops to attach the fabric to the jewelry findings.
4. Finishing Touches
Finally, you can add any finishing touches to your jewelry. Trim any loose threads and use a fabric sealant to protect the fabric from fraying. You can also add a coat of clear nail polish to the edges of the fabric to prevent fraying.
Tips and Tricks
Here are some tips and tricks to keep in mind when creating second-hand fabric sample jewelry:
– Use a variety of fabrics to add interest and texture to your jewelry.
– Experiment with different shapes and sizes for your jewelry pieces.
– Use a fabric sealant or clear nail polish to prevent fraying.
– Add embellishments such as beads, sequins, or embroidery to personalize your jewelry.
– Use wire or jump rings to attach the fabric to the jewelry findings.
Conclusion
Creating second-hand fabric sample jewelry is a sustainable and eco-friendly option that can also be a fun and creative DIY project. By selecting the right materials and using techniques such as cutting the fabric, adding embellishments, attaching the jewelry findings, and adding finishing touches, you can create unique and beautiful jewelry pieces that are sure to be a conversation starter. So why not give it a try and see what you can create?


