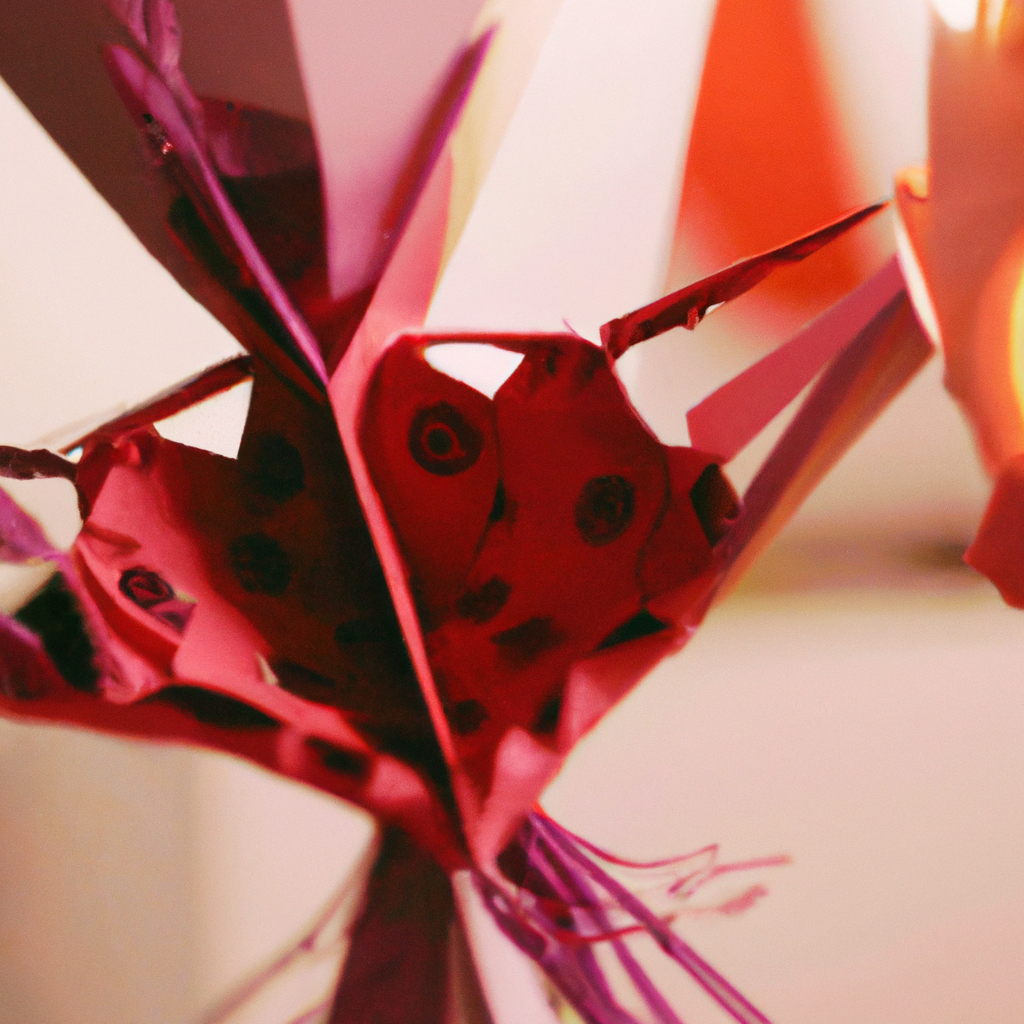
Second-hand wrapping paper jewelry is a fun and creative way to upcycle and transform an otherwise useless material into a beautiful piece of jewelry. This DIY craft is not only sustainable and eco-friendly, but it also allows for personalized and handmade creations that will make a unique addition to any jewelry collection. In this article, we will explore the techniques involved in creating second-hand wrapping paper jewelry, including the tools and materials needed, the steps to follow, and some helpful tips and tricks.
Materials and Tools Needed
To create second-hand wrapping paper jewelry, a few materials and tools are needed. These include:
– Wrapping paper: Choose a wrapping paper that has a nice pattern or design that you like. Make sure it’s not too thick or too thin, as this can affect the durability of the finished product.
– Glue: A glue stick or a clear-drying liquid glue can be used to attach the wrapping paper to the jewelry base.
– Scissors: A pair of sharp scissors is needed to cut the wrapping paper into the desired shapes and sizes.
– Jewelry base: This can be any type of jewelry base, such as a pendant, bracelet, or earrings. It’s best to choose a base that has a flat surface for easy application of the wrapping paper.
Steps to Follow
Once you have all the necessary materials and tools, follow these steps to create your second-hand wrapping paper jewelry:
1. Cut the wrapping paper: Cut the wrapping paper into small shapes that will fit onto the jewelry base. You can use scissors or a paper punch to create different shapes, such as circles, squares, or hearts.
2. Apply the glue: Apply a thin layer of glue to the flat surface of the jewelry base. Make sure to cover the entire surface evenly.
3. Place the wrapping paper: Carefully place the wrapping paper on top of the glue, making sure to smooth out any wrinkles or bubbles.
4. Let it dry: Allow the glue to dry completely before handling the jewelry. This will ensure that the wrapping paper stays in place and doesn’t peel off.
5. Add finishing touches: Once the glue is dry, you can add any finishing touches, such as a coat of clear nail polish to protect the wrapping paper from wear and tear.
Helpful Tips and Tricks
Here are some helpful tips and tricks to keep in mind when creating second-hand wrapping paper jewelry:
– Choose a wrapping paper with a pattern or design that you love. This will make the jewelry more meaningful and personal.
– Use a jewelry base with a flat surface for easy application of the wrapping paper.
– If the wrapping paper is too thick, it may be difficult to apply smoothly. Try using thinner wrapping paper or cutting the shapes into smaller sizes.
– To create a more durable piece of jewelry, consider adding a layer of clear nail polish or a sealant to protect the wrapping paper from wear and tear.
Conclusion
Creating second-hand wrapping paper jewelry is a fun and creative way to upcycle and transform an otherwise useless material into a beautiful piece of jewelry. With just a few materials and tools, anyone can make their own unique and personalized jewelry that is both sustainable and eco-friendly. By following the steps outlined in this article and keeping in mind some helpful tips and tricks, anyone can create their own second-hand wrapping paper jewelry that is sure to be a conversation starter and a statement piece in any jewelry collection.