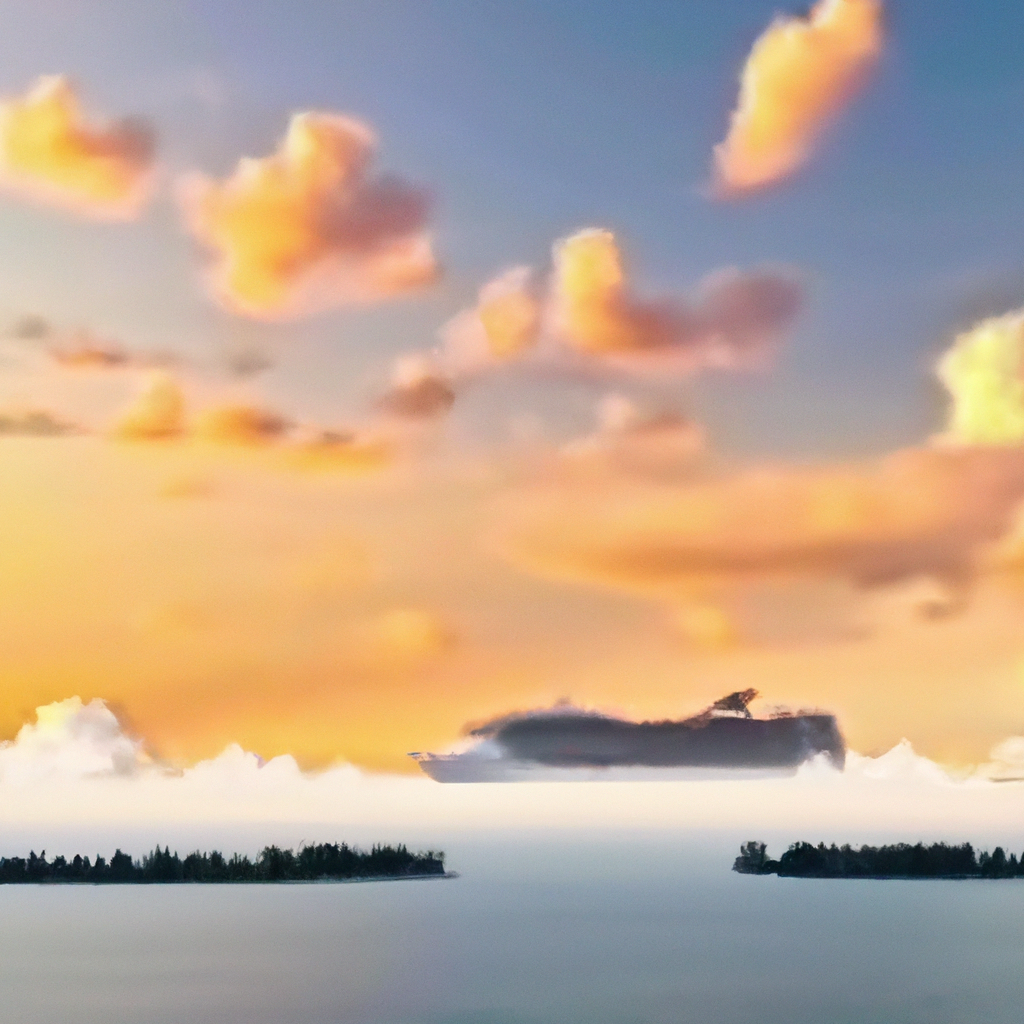
Watercolor landscapes are a popular form of nature art that can be enjoyed by beginners and experts alike. By following a few painting techniques, anyone can create beautiful and realistic watercolor landscapes that capture the beauty of nature. In this article, we will discuss the techniques involved in creating watercolor landscapes, including beginner painting tips, art tutorials, and more.
Choosing the Right Materials
Before you begin painting your watercolor landscape, it is important to gather the right materials. Here are some of the materials you will need:
– Watercolor paints
– Watercolor paper
– Brushes
– Water
– Palette
When selecting paints, choose a high-quality set that includes a range of colors. Watercolor paper should be thick and absorbent, with a smooth surface that is free from texture. Brushes should be made of natural hair or synthetic fibers, with a variety of shapes and sizes to help create different effects.
Creating a Basic Sketch
Once you have your materials, the first step in creating a watercolor landscape is to create a basic sketch. Use a pencil to lightly sketch the outline of your landscape on the watercolor paper. This will give you a guide to follow as you paint.
Mixing Colors
Watercolor landscapes require careful mixing of colors to achieve a natural look. Begin by selecting the colors you want to use in your painting. Then, use a palette to mix the colors together. Start with a small amount of paint and add water to create a more diluted color. Experiment with different color combinations until you achieve the desired effect.
Wet-on-Wet Technique
One of the most popular painting techniques used in watercolor landscapes is the wet-on-wet technique. This involves applying wet paint to a wet surface, which creates a soft, blended effect. To use this technique, wet the paper with water using a brush. Then, add the paint to the wet paper. The paint will spread out and create a soft, blended effect.
Dry Brush Technique
Another popular technique used in watercolor landscapes is the dry brush technique. This involves using a dry brush to apply paint to a dry surface. This creates a more textured and detailed effect. To use this technique, dip your brush into the paint and remove any excess paint. Then, use short, quick strokes to apply the paint to the paper.
Layering Technique
To create depth and dimension in your watercolor landscape, use the layering technique. This involves applying multiple layers of paint to the paper. Start with the lightest colors and work your way up to the darker colors. Each layer should be allowed to dry before applying the next layer.
Other Tips for Creating Watercolor Landscapes
– Use a variety of brush strokes to create different effects.
– Use a spray bottle to create a misty effect.
– Experiment with different color combinations to achieve the desired effect.
– Practice regularly to improve your skills.
Conclusion
Creating watercolor landscapes is a rewarding and enjoyable form of nature art. By following the techniques outlined in this article, including beginner painting tips and art tutorials, anyone can create beautiful and realistic watercolor landscapes that capture the beauty of nature. Remember to gather the right materials, create a basic sketch, mix colors carefully, and experiment with different painting techniques to achieve the desired effect. With practice and patience, you can create stunning watercolor landscapes that will bring joy and beauty to your life.


