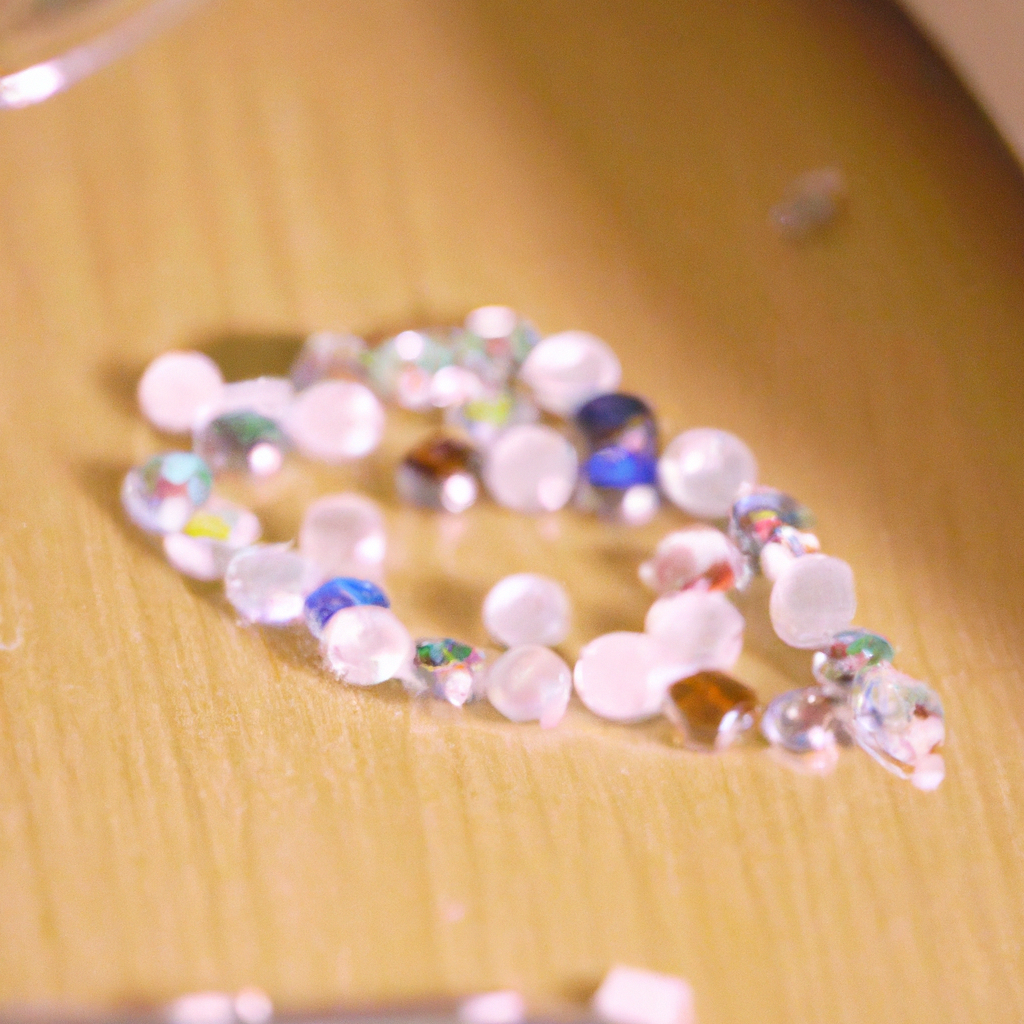
Bead weaving is an ancient technique used to create intricate designs and patterns using small beads. It is a popular form of beadwork that has been used for centuries to create beautiful and unique jewelry, home décor, and fashion accessories. If you’re interested in learning more about the process involved in creating bead weaving, keep reading.
Bead weaving involves using a needle and thread to weave beads together into a pattern. There are many different beading techniques that can be used to create different patterns and designs, such as peyote stitch, brick stitch, and loom weaving. Each technique has its unique advantages and challenges, and the type of project you’re creating will determine which technique to use.
Before starting a bead weaving project, you’ll need to gather your supplies. This includes beads, beading thread, a beading needle, and any other tools or materials you’ll need for your specific project. Beads come in many different sizes, shapes, and colors, so choose ones that match the pattern or design you’re creating. Beading thread should be strong enough to hold the weight of the beads but thin enough to pass through the small holes in the beads easily.
Once you have your supplies, it’s time to start your project. Here is a step-by-step guide to the process involved in creating bead weaving:
1. Choose a Pattern: The first step is to choose a beadwork pattern. There are many free patterns available online, or you can create your own. Look for patterns that match your skill level and the type of project you’re creating.
2. Prepare Your Beads: Before starting, you’ll need to prepare your beads by sorting them by color and size. This will make it easier to find the beads you need as you work.
3. Thread Your Needle: Cut a length of beading thread and thread your needle. Tie a knot at the end of the thread, leaving a tail long enough to weave in later.
4. Start Weaving: Follow the pattern you’ve chosen, using the beading technique of your choice. Be sure to keep your tension even and your stitches tight to create a strong and durable project.
5. Add More Thread: As you work, you’ll need to add more thread to your needle. To do this, tie off the old thread and start a new one, weaving in the ends to secure them.
6. Finish Your Project: Once you’ve completed your pattern, tie off your thread and weave in the ends. Trim any excess thread and enjoy your handcrafted jewelry or home décor.
There are many different types of bead weaving projects you can create, from simple bracelets and necklaces to complex wall hangings and tapestries. With practice and patience, you can become an expert at bead weaving and create beautiful and unique projects that you’ll cherish for years to come.
In conclusion, bead weaving is a fascinating and intricate art form that requires skill, patience, and creativity. By following the steps outlined in this article, you can learn the process involved in creating bead weaving and start creating your own handcrafted jewelry and home décor. With so many beading techniques, beadwork patterns, and DIY bead weaving tutorials available, the possibilities are endless. So, grab your supplies and get started on your next bead weaving project today!


