Kumihimo beadwork jewelry is a unique and beautiful type of jewelry that involves braiding and beading techniques. It is a DIY activity that many artisans love to create. Kumihimo is a traditional Japanese braiding technique that has been used for centuries to create cords for various purposes. In this article, we will discuss the process involved in creating Kumihimo beadwork jewelry.
Materials Needed
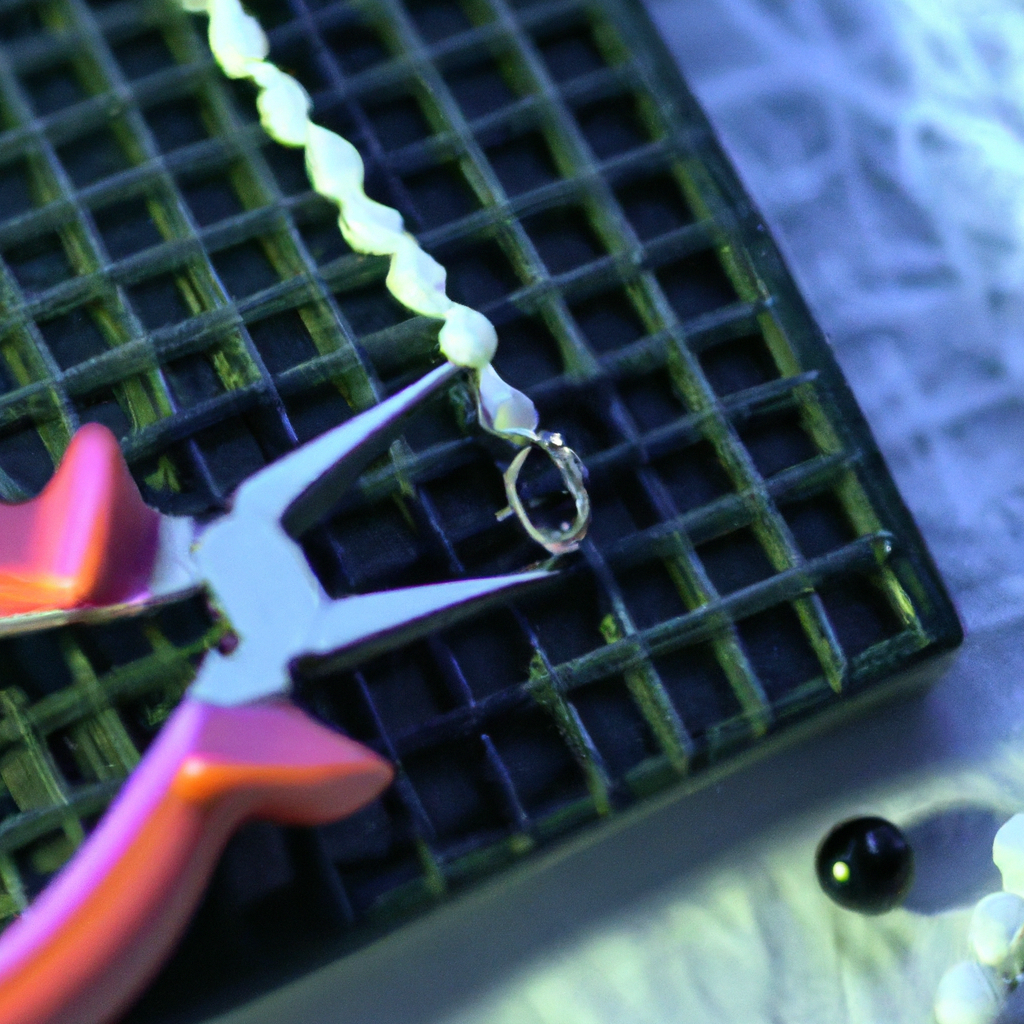
Before getting started, it is important to have all the necessary materials. The materials needed for Kumihimo beadwork jewelry include:
– Kumihimo disk or plate
– Beading thread or cord
– Beads
– Scissors
– Glue
– Clasp
Step 1: Prepare the Kumihimo Disk
The first step in creating Kumihimo beadwork jewelry is to prepare the Kumihimo disk. The disk is used to hold the threads and beads in place while you braid them. The disk has slots on the top and bottom where the threads are placed.
To prepare the disk, tie one end of the beading thread to the center of the disk. Then, wrap the thread around the disk, placing it in each slot. Make sure the threads are evenly spaced and the tension is tight. Once all the slots are filled, tie the end of the thread to the center of the disk.
Step 2: Add Beads
Once the disk is prepared, it is time to add the beads. Choose the beads you want to use and thread them onto the beading thread. You can use one color or multiple colors, depending on the design you want to create.
To add the beads, slide them up the thread until they reach the disk. Then, place the bead between two slots on the disk. Repeat this process until all the beads are added.
Step 3: Braid the Threads
Once the beads are added, it is time to start braiding the threads. Take the thread from slot 1 and move it to slot 2. Then, take the thread from slot 2 and move it to slot 3. Continue this pattern until you reach the end of the disk.
Once you reach the end, remove the threads from the disk and tie a knot at the end. This will hold the braid in place.
Step 4: Add the Clasp
The final step in creating Kumihimo beadwork jewelry is to add the clasp. Choose the clasp you want to use and attach it to the ends of the braid. You can use a jump ring and lobster clasp or any other type of clasp you prefer.
To attach the clasp, use glue to secure the ends of the braid to the clasp. Allow the glue to dry completely before wearing the jewelry.
Conclusion
Kumihimo beadwork jewelry is a beautiful and unique type of handmade jewelry that anyone can create. With the right materials and a little bit of practice, you can create stunning pieces of jewelry that you can wear or give as gifts. By following the steps outlined in this article, you can create your own Kumihimo beadwork jewelry and add a touch of artisan beauty to your accessories collection.