Linocut art is a printmaking technique that involves carving a design into a linoleum block, inking the block, and then pressing it onto paper or fabric to create a print. It is a popular form of relief printing that has been used for centuries to create intricate designs, bold patterns, and beautiful works of art. In this article, we will explore the process involved in creating linocut art, including the tools and materials needed, the steps to carve the linoleum block, and how to print the final design.
Tools and Materials Needed
Before we begin the linocut process, we need to gather the necessary tools and materials. The following list outlines the basic materials required:
– Linoleum block: This is the surface onto which the design will be carved
– Carving tools: These tools are used to carve the design into the linoleum block
– Ink: This is the medium used to transfer the design from the block onto paper or fabric
– Brayer: This is a roller used to apply the ink to the block
– Paper or fabric: This is the surface onto which the final design will be printed
Linocut Carving
Once you have gathered all the necessary materials, it’s time to start carving the linoleum block. Here are the steps:
1. Sketch out your design onto the linoleum block using a pencil. Keep in mind that the design will be reversed when printed, so you may want to create a mirror image of your original design.
2. Use the carving tools to carve out the negative space of your design. The negative space is the area that will not receive ink when printed. Be sure to carve away from your body and keep your hands and fingers out of harm’s way. Start with the larger tools and work your way down to the smaller ones for more detailed work.
3. Test print your block to see if any adjustments need to be made. Ink the block and use a brayer to apply pressure to the paper or fabric.
4. Continue carving and testing until you are satisfied with the final design. Keep in mind that once you have carved away a section of the block, you cannot add it back.
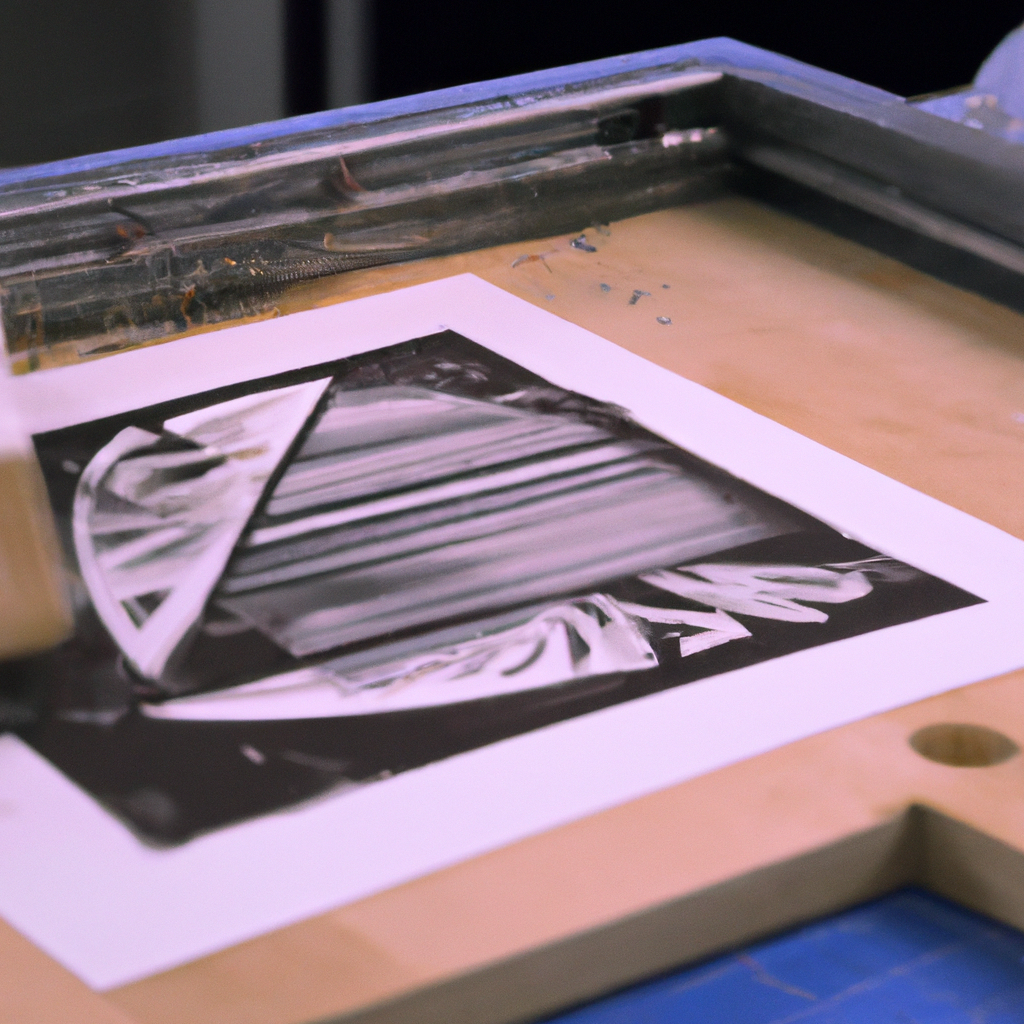
Linocut Printing
Now that you have carved your linoleum block, it’s time to print your design. Here are the steps:
1. Ink the block using a brayer, ensuring that the ink is spread evenly over the entire surface.
2. Carefully place the paper or fabric onto the block, making sure that it is aligned with the design.
3. Use a baren or a spoon to apply pressure to the paper or fabric, pressing it firmly onto the block.
4. Slowly lift the paper or fabric to reveal the final printed design.
5. Repeat the process for each print, re-inking the block as necessary.
Linocut Tutorial
If you’re new to linocut art, there are many online tutorials and resources available to help you get started. Here are a few tips to keep in mind:
– Start with a simple design and work your way up to more complex ones.
– Always carve away from your body, and keep your hands and fingers out of harm’s way.
– Test print your block frequently to ensure that your design is coming out the way you want it to.
– Experiment with different inks, papers, and fabrics to create unique designs.
In conclusion, the linocut process is a fun and rewarding way to create beautiful art. With the right tools and materials, anyone can learn how to carve a linoleum block and print their own designs. Whether you’re a seasoned artist or a beginner, give linocut art a try and see what you can create.