Paper mache art is a fascinating and exciting way to create handmade paper art pieces. It is a versatile and cost-effective medium that can be moulded into any shape or form. The process of creating paper mache art requires patience, creativity, and a willingness to experiment. In this article, we will explore the paper mache process, step-by-step, to help you create your own DIY paper mache art.
Materials Required
The first step in creating paper mache art is gathering the necessary materials. Here is a list of the things you will need:
– Flour or cornstarch
– Water
– Newspapers or tissue paper
– Balloons, wire mesh, or cardboard for the base
– Paint and brushes
– Varnish or clear coat
The Paper Mache Process
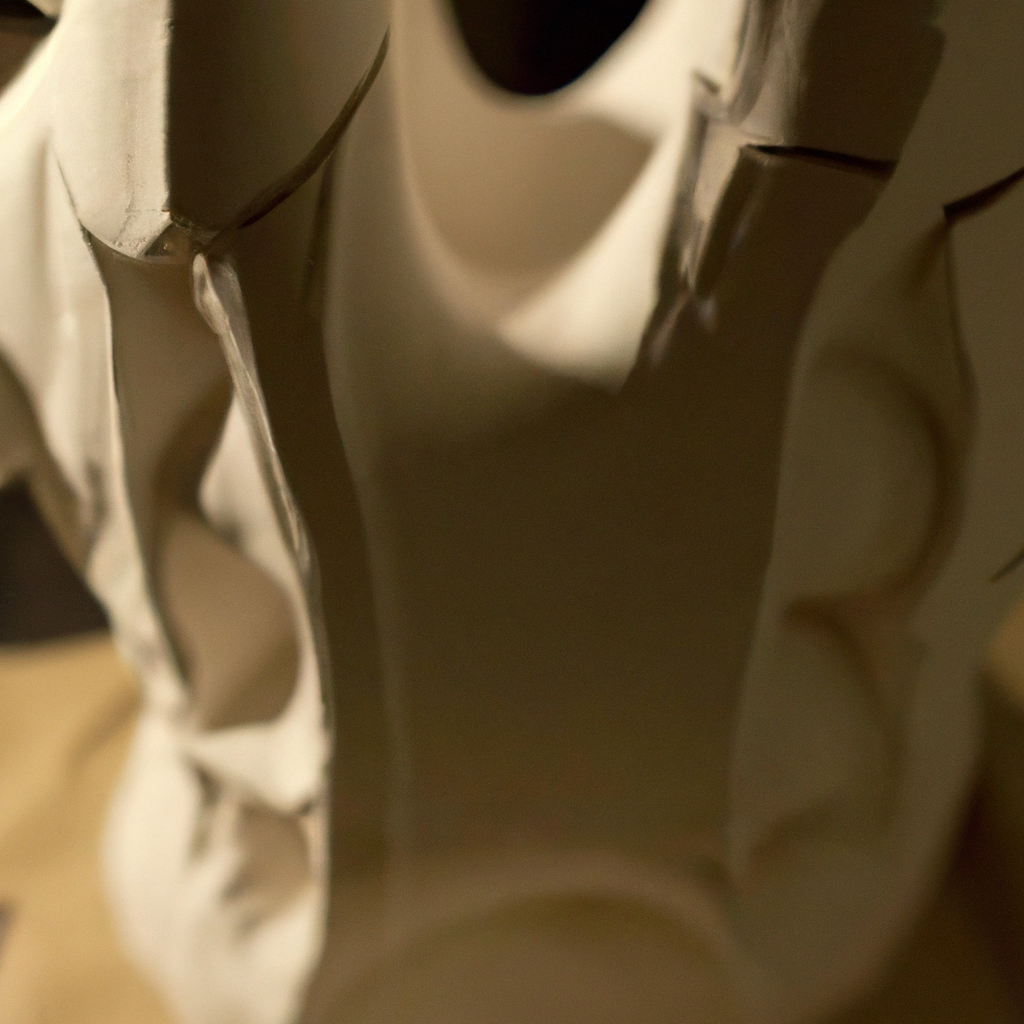
Step 1: Create the Base
The base is the foundation of your paper mache art piece. You can use a balloon, wire mesh, or cardboard to create the base. The balloon method involves inflating a balloon to the desired size and shape, while the wire mesh and cardboard methods require cutting and shaping the material to suit your needs.
Step 2: Prepare the Paper Mache Paste
The next step is to prepare the paper mache paste. You can use either flour or cornstarch to make the paste. To make the paste using flour, mix one part flour with three parts water in a bowl. Stir the mixture until all the lumps disappear. Alternatively, mix equal parts cornstarch and water in a bowl until you get a smooth consistency.
Step 3: Apply the Paper Mache
Cut or tear your newspaper or tissue paper into small pieces. Dip each piece into the paper mache paste and remove the excess paste by running it through your fingers. Apply the paper mache to the base, making sure to overlap the pieces to ensure a smooth finish. Repeat this process until you have covered the entire base with paper mache. Leave the paper mache to dry overnight.
Step 4: Sand and Paint
Once the paper mache has dried, sand it down with sandpaper to create a smooth surface. You can now paint your paper mache sculpture using acrylic or tempera paint. Use a base coat to cover the entire sculpture and then add details and designs using a smaller brush. Let the paint dry before applying a clear coat or varnish to protect your artwork.
Step 5: Finishing Touches
The last step in the paper mache process is to add finishing touches to your sculpture. You can add texture by using modelling paste or add embellishments using beads, buttons, or other decorative items. You can also add a stand to your sculpture or attach it to a frame to display it.
Tips for Working with Paper Mache
– Always use a base to create a sturdy foundation for your paper mache sculpture.
– Apply at least three layers of paper mache to ensure durability.
– Use a hairdryer to speed up the drying process.
– Experiment with different shapes and sizes to create unique designs.
– Use bright and bold colours to make your sculpture stand out.
Conclusion
In conclusion, the paper mache process is a fun and creative way to make art and crafts. With a little patience, creativity, and some basic materials, you can create stunning paper mache sculptures that will impress your friends and family. Follow these steps, and you will be on your way to creating your own paper mache art in no time.