Creating Plique-a-jour Jewelry: A Comprehensive Guide
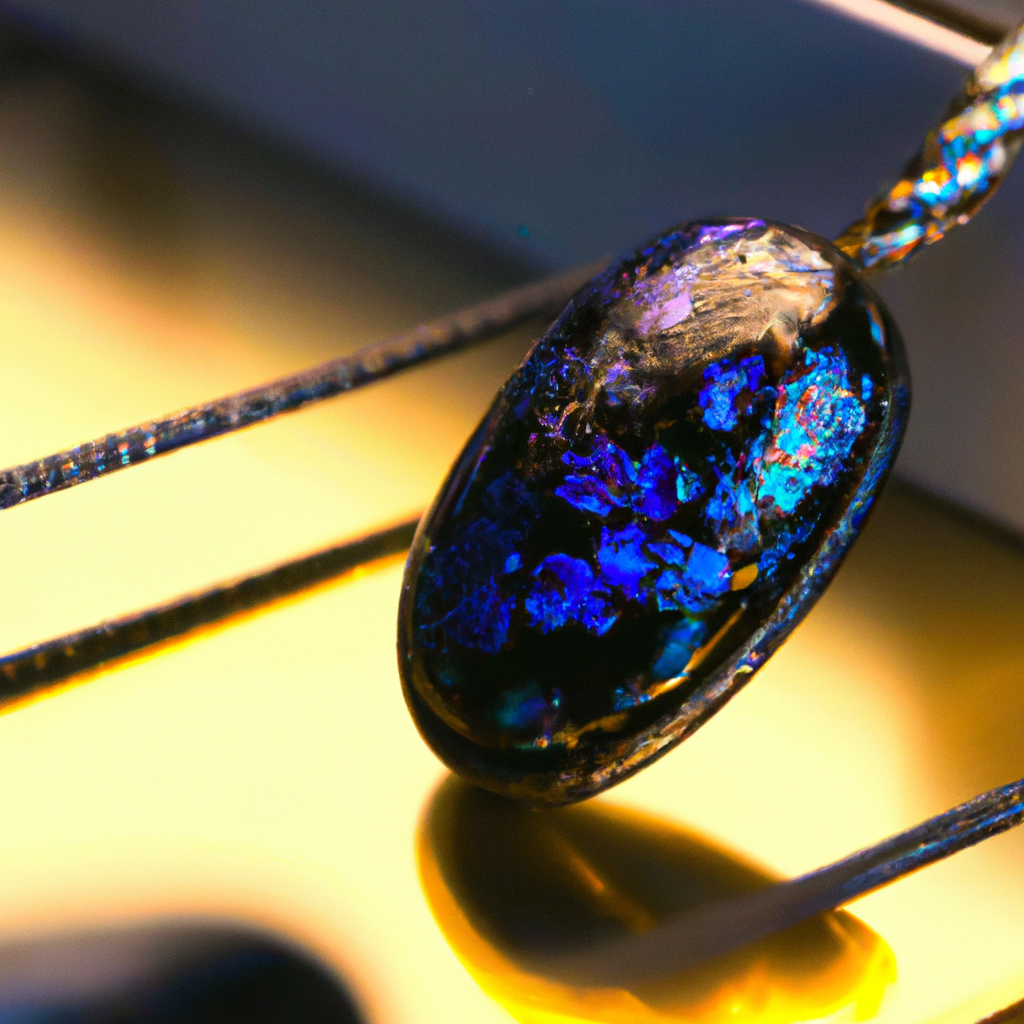
Plique-a-jour is a French term that translates to “light shining through.” It is a technique in jewelry making that produces a stained glass effect. Plique-a-jour jewelry is unique and highly sought after for its delicate and intricate design. In this article, we will explore the process involved in creating plique-a-jour jewelry, the tools required, and some tips for making this beautiful jewelry.
The Plique-a-jour Process
Plique-a-jour is a process of creating a piece of jewelry with enamel that is suspended between metal wires. The enamel is applied in small amounts to create a stained glass effect, and then the jewelry is heated to melt the enamel. The metal wires are then removed, leaving behind a delicate piece of jewelry with a translucent appearance.
The plique-a-jour technique is similar to cloisonné, but the difference is that there is no backing, and the final piece is a translucent enamel.
Tools Required for Plique-a-jour Jewelry Making
Creating plique-a-jour jewelry requires specific tools, and they include:
1. Enamel – The enamel is the primary material used in making plique-a-jour jewelry. The enamel comes in various colors, and it is essential to choose the right colors to achieve the desired effect.
2. Wires – The metal wires are used to create the framework for the enamel. The wires must be thin and flexible enough to bend into the desired shape.
3. Pliers – Pliers are used to bend and shape the metal wires. They come in various sizes and shapes, and it is essential to choose the right pliers for the job.
4. Torch – A torch is used to heat the enamel and melt it onto the metal wires. A small torch is ideal for plique-a-jour jewelry making.
5. Kiln – A kiln is used to cure the enamel. The kiln must be able to reach the desired temperature for the enamel to cure correctly.
6. Sandpaper – Sandpaper is used to smooth out any rough edges on the metal wires.
Plique-a-jour Tutorial: How to Make Plique-a-jour Jewelry
Step 1: Create a Design
The first step in creating plique-a-jour jewelry is to create a design. You can use a pencil and paper to sketch out your design, or you can use computer software to create a digital design.
Step 2: Bend the Metal Wires
Once you have your design, it’s time to bend the metal wires into the desired shape. Use pliers to bend the wires, and make sure they fit together correctly.
Step 3: Apply the Enamel
Apply the enamel to the metal wires using a small brush. Be sure to apply the enamel in thin layers, and allow each layer to dry before applying the next.
Step 4: Heat the Enamel
Once you have applied the enamel, it’s time to heat the jewelry. Use a torch to heat the enamel until it melts and fuses to the metal wires.
Step 5: Remove the Metal Wires
After the enamel has cooled, carefully remove the metal wires using pliers. Sand any rough edges with sandpaper.
Step 6: Curing the Enamel
Place the plique-a-jour jewelry in a kiln and heat it to the desired temperature. This will cure the enamel and give it a translucent appearance.
Tips for Making Plique-a-jour Jewelry
1. Use thin metal wires to create a delicate appearance.
2. Apply the enamel in thin layers to avoid cracking.
3. Use a small torch to heat the enamel and prevent overheating.
4. Use a kiln to cure the enamel and ensure a uniform finish.
Conclusion
Plique-a-jour jewelry is a beautiful and unique style of jewelry that requires skill and patience to create. The process involves creating a design, bending metal wires, applying enamel, heating the jewelry, removing the wires, and curing the enamel. With the right tools and techniques, anyone can create stunning plique-a-jour jewelry.