Quilled jewelry is a unique form of handmade jewelry that has been gaining popularity in recent times. It is created using the quilling technique, which involves rolling and shaping paper strips into intricate designs. This process can be time-consuming, but the end result is a beautiful and creative piece of artisan jewelry that is personalized to the wearer’s taste. In this article, we will explore the process involved in creating quilled jewelry, from the materials needed to the steps involved.
Materials needed for quilled jewelry:
-Quilling paper strips in different colors and widths
-Quilling tool (slotted or needle tool)
-Glue (preferably clear-drying glue)
-Scissors
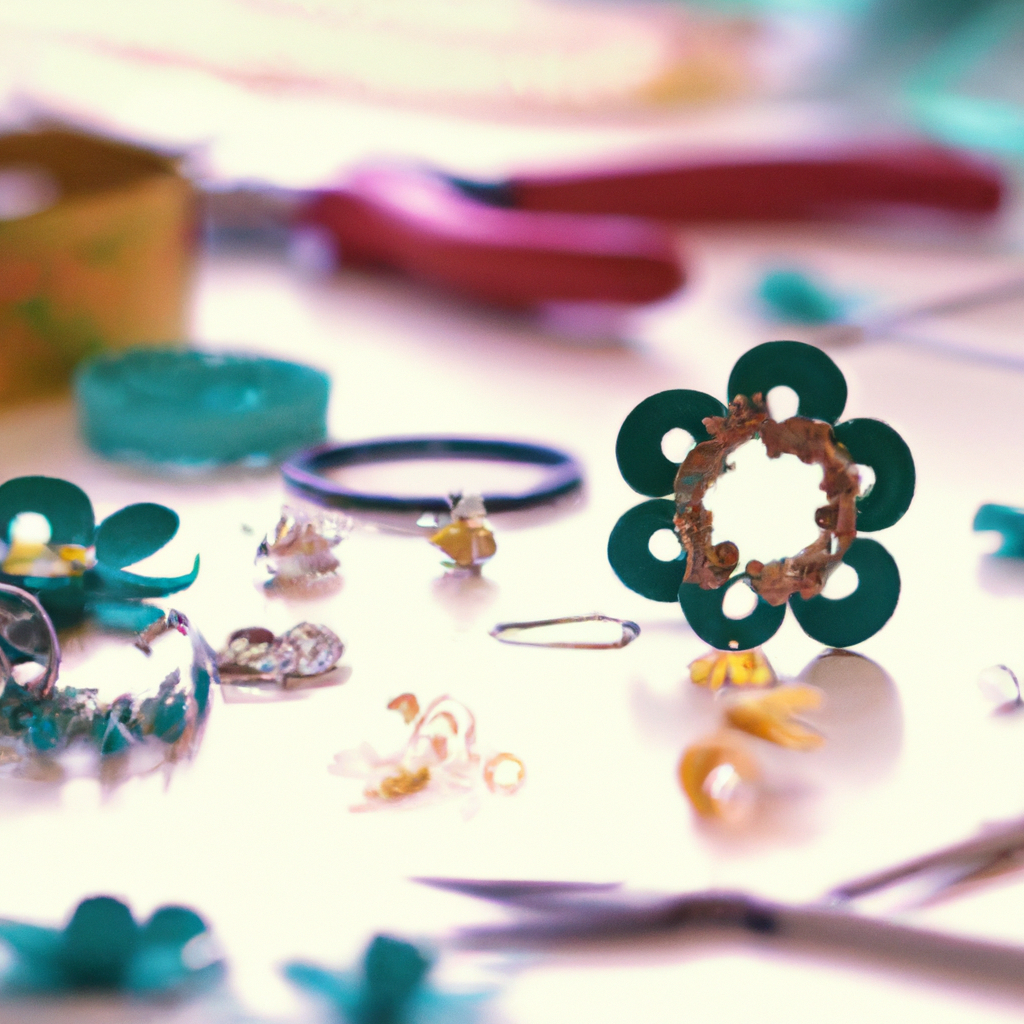
-Jewelry findings (earring hooks, jump rings, etc.)
-Jewelry pliers
Step 1: Choose a design
The first step in making quilled jewelry is to choose a design. This can be a simple design or a more intricate one, depending on your skill level. You can find design ideas online or create your own unique design. Once you have chosen a design, you will need to prepare your quilling paper strips.
Step 2: Prepare paper strips
Using your scissors, cut the quilling paper strips into the desired length and width. You can experiment with different widths to create different effects. For example, wider strips can be used for larger shapes, while thinner strips can be used for more intricate designs.
Step 3: Roll the paper strips
Using your quilling tool, roll the paper strips tightly into coils. You can use either a slotted or needle tool for this step. A slotted tool is easier to use for beginners as it allows you to slide the paper strip into the slot and roll it. A needle tool requires more skill as you have to roll the paper strip around the needle.
Step 4: Shape the coils
Once you have rolled the paper strips into coils, you can shape them into different designs. This is where your creativity comes in. You can shape the coils into teardrops, triangles, circles, or any other shape you desire.
Step 5: Glue the coils
Using clear-drying glue, glue the coils to each other to form the desired design. You can use a toothpick to apply the glue to the coils. Be careful not to use too much glue as it can make the paper strip soggy and difficult to work with.
Step 6: Add jewelry findings
Once you have glued the coils together, you can add jewelry findings such as earring hooks or jump rings. Using your jewelry pliers, attach the jewelry findings to the back of the quilled design. This will allow you to wear the quilled jewelry as earrings, a necklace, or a bracelet.
Conclusion
Quilled jewelry is a creative and unique form of handmade jewelry that is personalized to the wearer’s taste. The process involved in creating quilled jewelry is simple and requires only a few materials. By following the steps outlined above, you can create beautiful and intricate designs that are sure to impress. Whether you are a beginner or an experienced quiller, quilled jewelry is a great DIY project that allows you to express your creativity and make something truly unique.