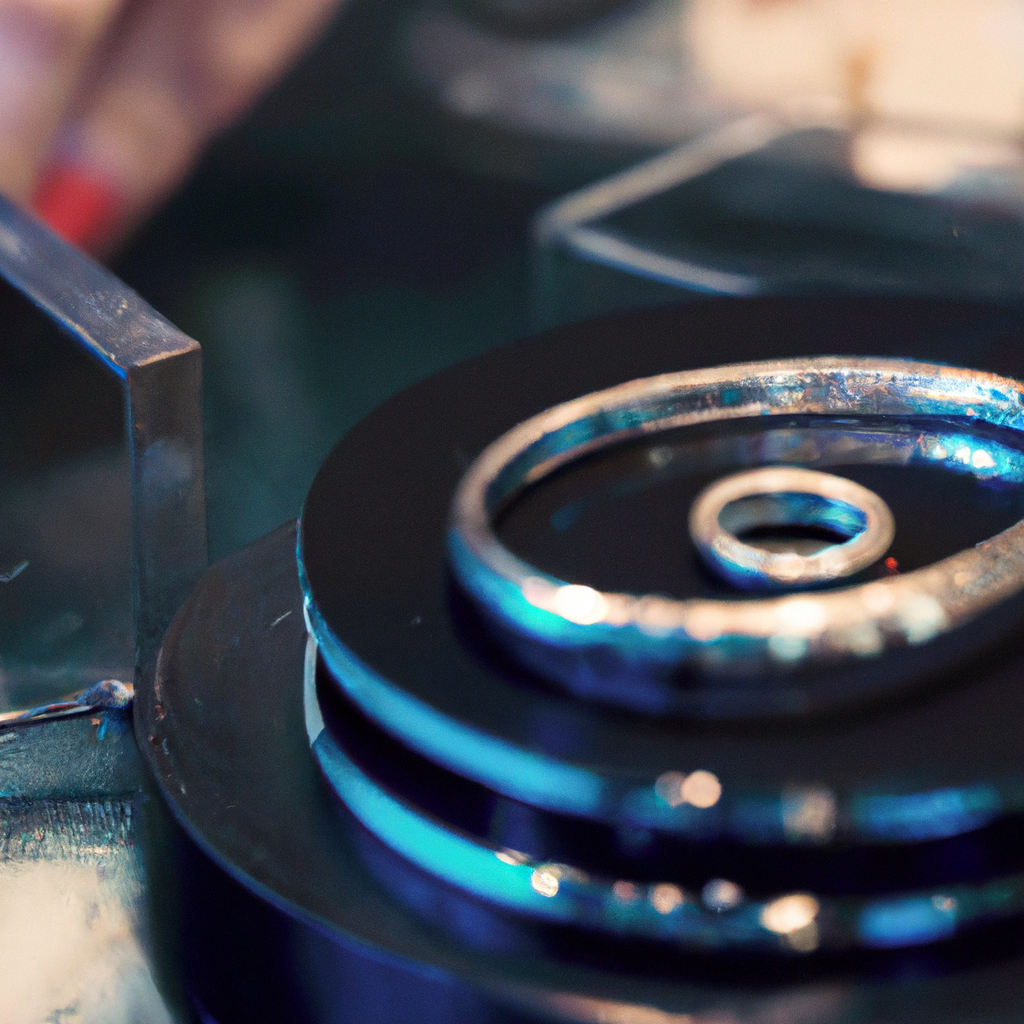
Remade Vinyl Record Jewelry: A Comprehensive Guide
Remade vinyl record jewelry is an excellent way to create unique and fashionable accessories while repurposing old vinyl records that might otherwise end up in the landfill. This DIY craft is straightforward and requires minimal materials, making it ideal for anyone who wants to try their hand at jewelry making. In this article, we will explore the process involved in creating remade vinyl record jewelry, including the tools and materials needed and step-by-step instructions for making your own.
Materials Needed:
– Vinyl records
– Heat gun or oven
– Scissors
– Jewelry findings (earring hooks, jump rings, clasps, etc.)
– Pliers
– Sandpaper or nail file
– Drill or hole punch (optional)
Step 1: Choose Your Vinyl Record
The first step in creating remade vinyl record jewelry is to select the vinyl records you want to use. You can often find old records at thrift stores or garage sales, or you can use ones from your own collection that you no longer listen to. Keep in mind that some records may be more suitable for jewelry making than others, depending on their thickness and durability.
Step 2: Soften the Vinyl
Once you have your vinyl record, you need to soften it so that it can be cut and shaped. There are two ways to do this: using a heat gun or an oven. If using a heat gun, hold it about 6 inches away from the record and move it back and forth until the vinyl becomes pliable. If using an oven, preheat it to 200 degrees Fahrenheit and place the record on a baking sheet. Put it in the oven for 2-3 minutes or until it becomes soft.
Step 3: Cut and Shape the Vinyl
Once the vinyl is soft, you can cut and shape it into the desired jewelry pieces. Use scissors to cut out shapes such as circles, squares, or rectangles, or use a craft knife for more intricate designs. Use pliers to bend the vinyl into different shapes, such as hoops or teardrops.
Step 4: Sand and Finish the Jewelry Pieces
After you have cut and shaped your vinyl pieces, use sandpaper or a nail file to smooth out any rough edges. You can also use a drill or hole punch to create holes for earring hooks or jump rings. Once your pieces are finished, you can add jewelry findings such as earring hooks or clasps to turn them into wearable accessories.
Step 5: Customize Your Vinyl Record Jewelry
One of the best things about remade vinyl record jewelry is that you can customize it to your liking. You can paint the vinyl pieces with acrylic paints or add embellishments such as rhinestones or beads. You can also layer different vinyl pieces to create a unique and textured look.
Conclusion:
In conclusion, remade vinyl record jewelry is a fun and easy DIY project that anyone can try. With just a few tools and materials, you can turn old vinyl records into stylish and unique accessories. Whether you’re a fan of vintage style or just want to add a touch of music-inspired flair to your wardrobe, remade vinyl record jewelry is a great craft to try. So, gather your materials and get started on creating your own one-of-a-kind vinyl record accessories!


