Plastic waste is a huge environmental problem that poses a significant threat to our planet’s health. However, with a little creativity and ingenuity, this waste can be repurposed into something beautiful and functional. One way to do this is by creating repurposed plastic bottle label jewelry. In this article, we will explore the process involved in creating this jewelry, including the materials needed, the tools required, and the steps involved.
Materials Needed
The first step in creating repurposed plastic bottle label jewelry is to gather all the necessary materials. Here are the materials you will need:
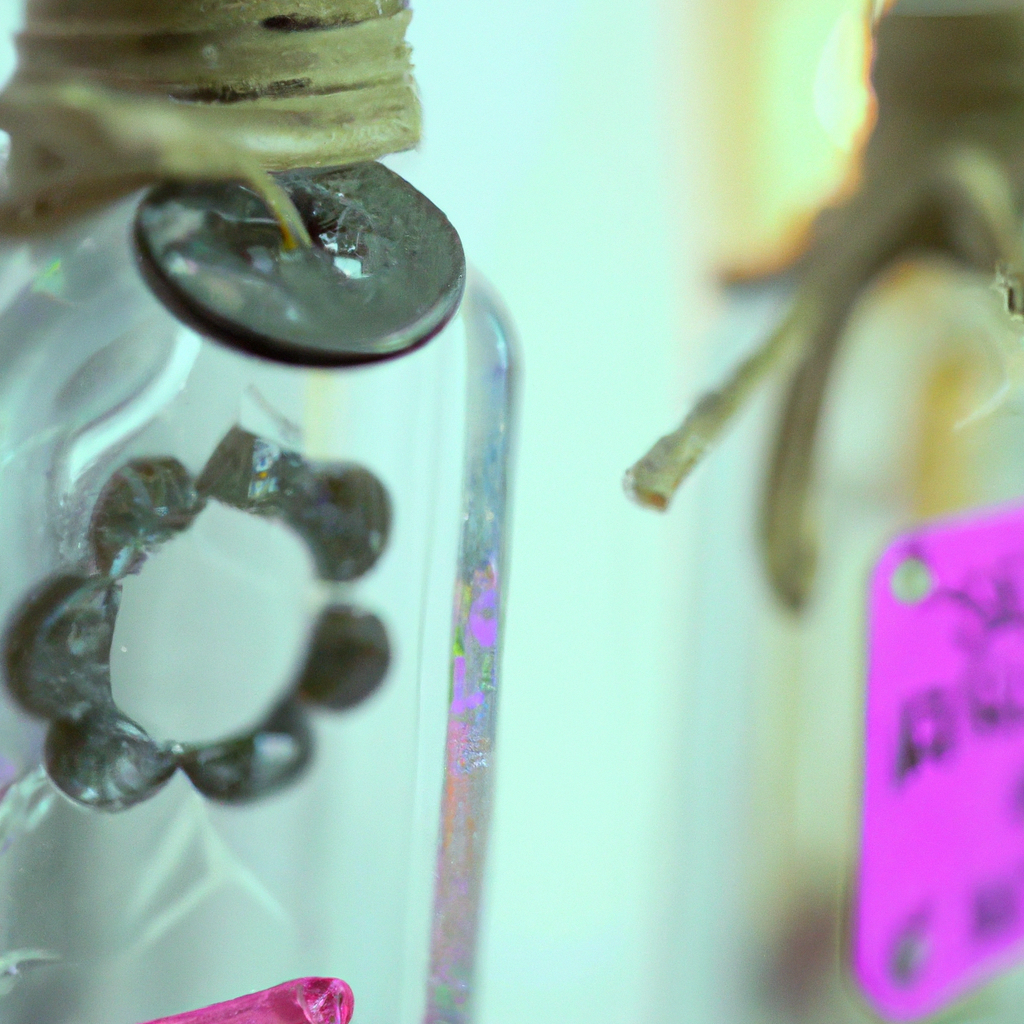
– Plastic Bottles: The first thing you will need is a collection of plastic bottles. It is essential to choose bottles with interesting labels or designs that will add character to your jewelry. You can use soda bottles, water bottles, or any other plastic bottles you have lying around.
– Scissors: You will need a good pair of scissors to cut out the labels from the plastic bottles.
– Hole Punch: A hole punch is essential to create holes in the plastic labels, which will be used to attach the labels to the jewelry.
– Jump Rings: Jump rings are small metal rings that are used to attach the labels to the jewelry.
– Pliers: You will need pliers to open and close the jump rings and to shape the wire used to create the jewelry.
– Wire: You will need wire to create the base of the jewelry. You can use copper, silver, or any other wire you have on hand.
– Beads: If you want to add some extra flair to your jewelry, you can use beads to decorate it.
Steps Involved
Once you have gathered all the necessary materials, it’s time to start creating your repurposed plastic bottle label jewelry. Here are the steps involved:
Step 1: Cut out the Labels
The first step is to cut out the labels from the plastic bottles. Use your scissors to carefully cut out the labels, making sure to avoid any jagged edges. You can cut out as many labels as you like, depending on how much jewelry you want to create.
Step 2: Punch Holes in the Labels
Once you have cut out the labels, use your hole punch to create small holes in each label. These holes will be used to attach the labels to the jewelry.
Step 3: Create the Base of the Jewelry
Next, you will need to create the base of the jewelry. Take your wire and shape it into the desired shape for your jewelry. You can create necklaces, bracelets, earrings, or any other type of jewelry you like.
Step 4: Attach the Labels to the Jewelry
Once you have created the base of the jewelry, it’s time to attach the labels. Take your jump rings and use your pliers to open them. Then, attach the jump rings to the holes in the labels and attach them to the base of the jewelry.
Step 5: Add Beads (Optional)
If you want to add some extra flair to your jewelry, you can add beads. Simply string the beads onto the wire and attach them to the base of the jewelry using jump rings.
Step 6: Finish the Jewelry
Once you have attached the labels and beads (if you chose to use them), it’s time to finish the jewelry. Use your pliers to close the jump rings and shape the wire into its final form.
Conclusion
Creating repurposed plastic bottle label jewelry is a fun and creative way to turn plastic waste into something beautiful and functional. With just a few materials and some basic tools, you can create unique and stylish jewelry that is both eco-friendly and affordable. So next time you have some plastic bottles lying around, don’t throw them away – turn them into something beautiful instead!