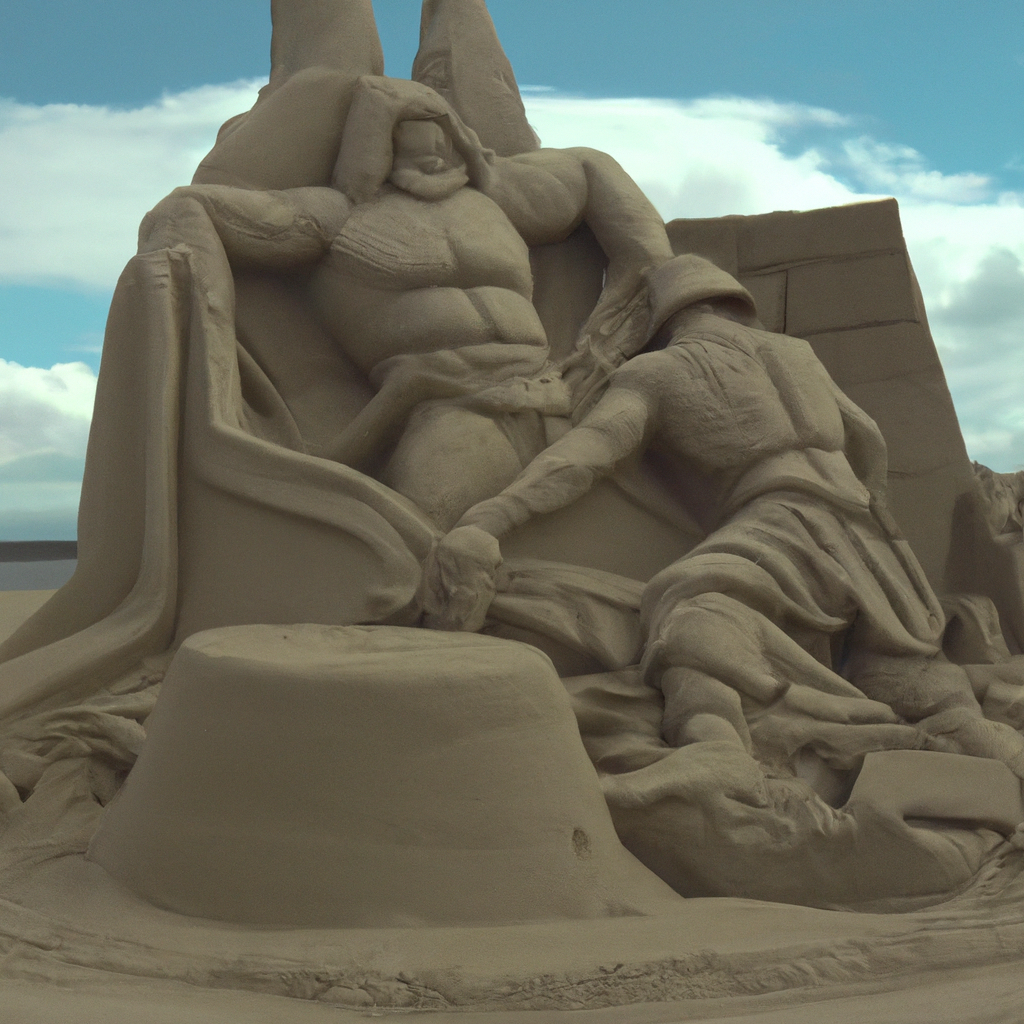
Sand sculpting is a form of art that has been around for centuries. It involves creating intricate and detailed sculptures out of sand. From small sandcastles to large, elaborate designs, sand sculpture can be both challenging and rewarding. In this article, we’ll explore the process involved in creating sand sculpture art, including sand sculpting techniques, sand art ideas, and sand art supplies.
Getting Started with Sand Sculpture Art
Before you begin creating sand art, you’ll need to gather your supplies. Here’s a list of must-have items you’ll need to get started:
– Sand: You’ll need a lot of sand to create your sculpture, so be sure to choose a location with plenty of sand available. Beaches are an ideal location, but if you don’t have access to a beach, you can purchase sand from a local hardware store.
– Water: You’ll need water to create the right consistency of sand for your sculpture. A bucket or spray bottle is ideal for adding water to your sand.
– Shovels and Buckets: These tools will be used to move and shape your sand. You’ll need both large and small shovels and buckets to create your sculpture.
– Carving Tools: You’ll need a variety of tools to carve and shape your sand. A plastic knife, spatula, and spoon are all ideal for creating intricate designs.
– Sunscreen: Spending time in the sun can be damaging to your skin, so be sure to apply sunscreen before you start your sand sculpture.
Once you have your supplies, it’s time to start creating your sand sculpture.
Creating Sand Art: Sand Sculpting Techniques
There are several sand sculpting techniques that you can use to create your sculpture. Here are some of the most common:
1. Pounding: This technique involves pounding the sand to create a solid base for your sculpture. Use a shovel or your feet to pound the sand until it’s compact and stable.
2. Carving: Carving involves using tools to shape and refine your sculpture. Start with a large shovel to create the basic shape of your sculpture, then use smaller tools to add details and texture.
3. Smoothing: Smoothing involves using a flat tool, such as a spatula, to create a smooth finish on your sculpture. This technique is ideal for creating a polished look on your sculpture.
Sand Art Ideas: Sand Art Designs
Once you’ve mastered the basic sand sculpting techniques, it’s time to start brainstorming sand art ideas. Here are some sand art designs to get you started:
1. Sandcastles: Sandcastles are a classic sand art design that’s perfect for beginners. Start with a simple design, such as a basic castle shape, then add details and texture using carving and smoothing techniques.
2. Animals: Animal sculptures are a fun and creative way to showcase your sand sculpting skills. Try creating a sea turtle, shark, or dolphin out of sand.
3. Landscapes: Landscapes are a more advanced sand art design that requires a lot of patience and attention to detail. Create a beach scene, mountain range, or forest using your sand sculpting skills.
Sand Art Supplies: How to Make Sand Sculptures
To make sand sculptures, you’ll need to follow these steps:
1. Choose a location with plenty of sand available.
2. Create a solid base for your sculpture using the pounding technique.
3. Use carving and smoothing techniques to shape and refine your sculpture.
4. Add details and texture to your sculpture using smaller tools.
5. Apply sunscreen to protect your skin from the sun.
Creating sand sculpture art can be a fun and rewarding experience. With the right supplies, sand sculpting techniques, and sand art ideas, you can create intricate and detailed sculptures that will amaze your friends and family. So grab your shovels and start creating your sand art masterpiece today!


