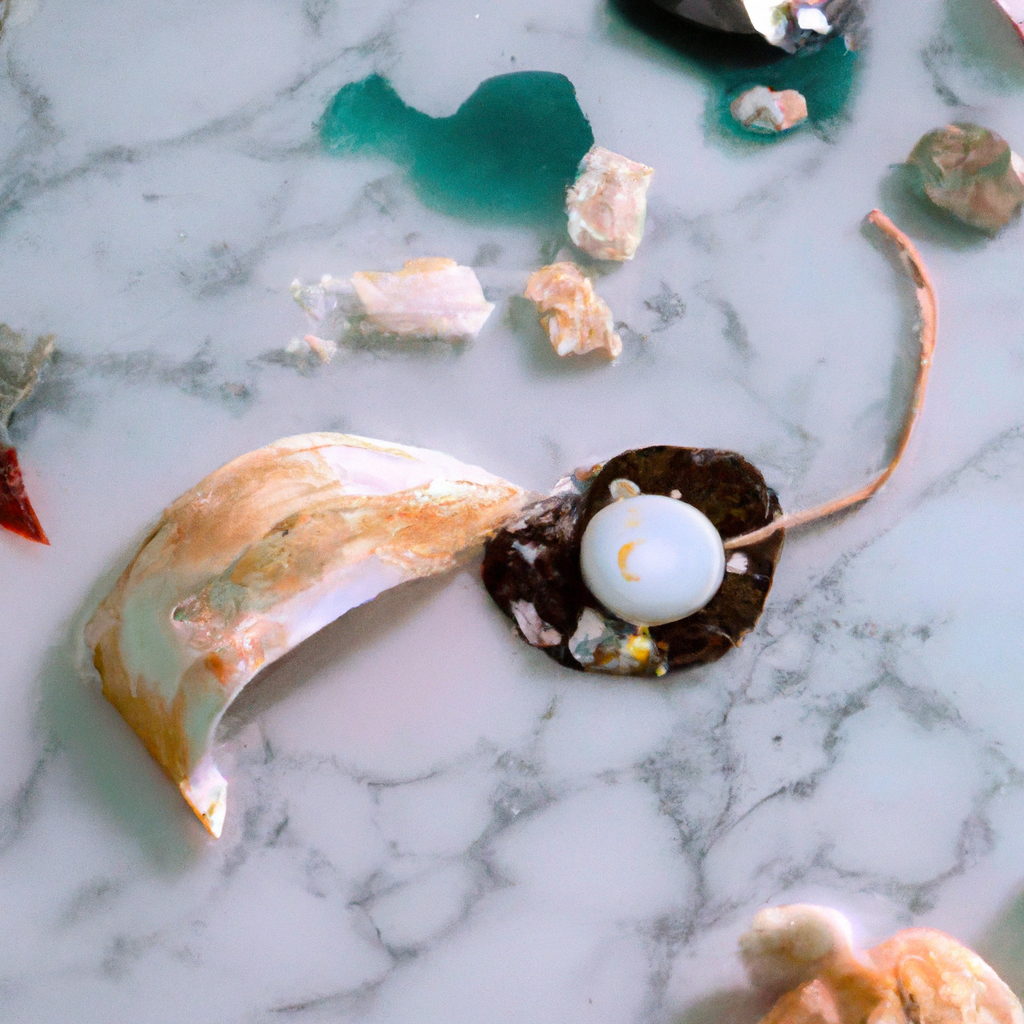
Seashell jewelry has been a popular accessory for many years. It is a beautiful and unique way to incorporate nature into fashion. Creating seashell jewelry is a fun and easy DIY project that anyone can do. In this article, we will discuss the process of making seashell jewelry, including the tools needed, steps involved, and tips for creating beautiful handmade seashell jewelry.
Tools Needed for Creating Seashell Jewelry
Before you can start making seashell jewelry, you need to gather the necessary tools. Here are the tools you will need:
– Seashells
– Pliers
– Wire cutters
– Jewelry wire
– Jewelry findings (earring hooks, jump rings, clasps)
– Glue (optional)
– Beads (optional)
Process of Making Seashell Jewelry
Step 1: Choose Your Seashells
The first step in creating seashell jewelry is to choose the shells you want to use. You can find seashells on the beach or purchase them at a craft store. Look for shells that are in good condition and have a unique shape or color.
Step 2: Clean and Prepare Your Seashells
Once you have your seashells, you need to clean and prepare them for jewelry making. Rinse the shells with water to remove any sand or debris. If the shells are dirty, you can soak them in warm, soapy water. Allow the shells to dry completely before proceeding.
Step 3: Create a Hole in Your Seashell
To turn your seashell into a piece of jewelry, you will need to create a hole in the shell. Use a small drill bit or a sharp tool to make a hole in the shell. Be careful not to crack or break the shell.
Step 4: Cut Your Wire
Next, you need to cut your jewelry wire to the desired length. Use your wire cutters to cut the wire. The length of the wire will depend on the style of jewelry you are making.
Step 5: Thread Your Seashell onto the Wire
Thread your seashell onto the wire through the hole you created in step 3. If you want to add beads to your jewelry, you can thread them onto the wire before or after the seashell.
Step 6: Create a Loop
Using your pliers, create a loop at the end of the wire. This loop will allow you to attach a jump ring or clasp to the jewelry piece.
Step 7: Attach Your Jewelry Findings
Attach your jewelry findings to the loop you created in step 6. You can use jump rings, earring hooks, or clasps depending on the type of jewelry you are making.
Step 8: Repeat Steps 5-7
Repeat steps 5-7 to create additional seashell jewelry pieces. You can make earrings, necklaces, bracelets, and more.
Tips for Creating Beautiful Handmade Seashell Jewelry
– Use different types of seashells to create a unique and interesting piece of jewelry.
– Experiment with different wire colors and thicknesses to create different looks.
– Add beads to your jewelry to create a more intricate design.
– Use glue to secure your seashells in place if they are not staying on the wire.
– Consider adding a coat of clear nail polish to your seashell jewelry to protect it from wear and tear.
Conclusion
Creating seashell jewelry is a fun and easy DIY project that anyone can do. With the right tools and a little creativity, you can make beautiful handmade seashell jewelry that is unique and one-of-a-kind. Follow the steps outlined in this article and use the tips provided to create your own beautiful seashell jewelry.


