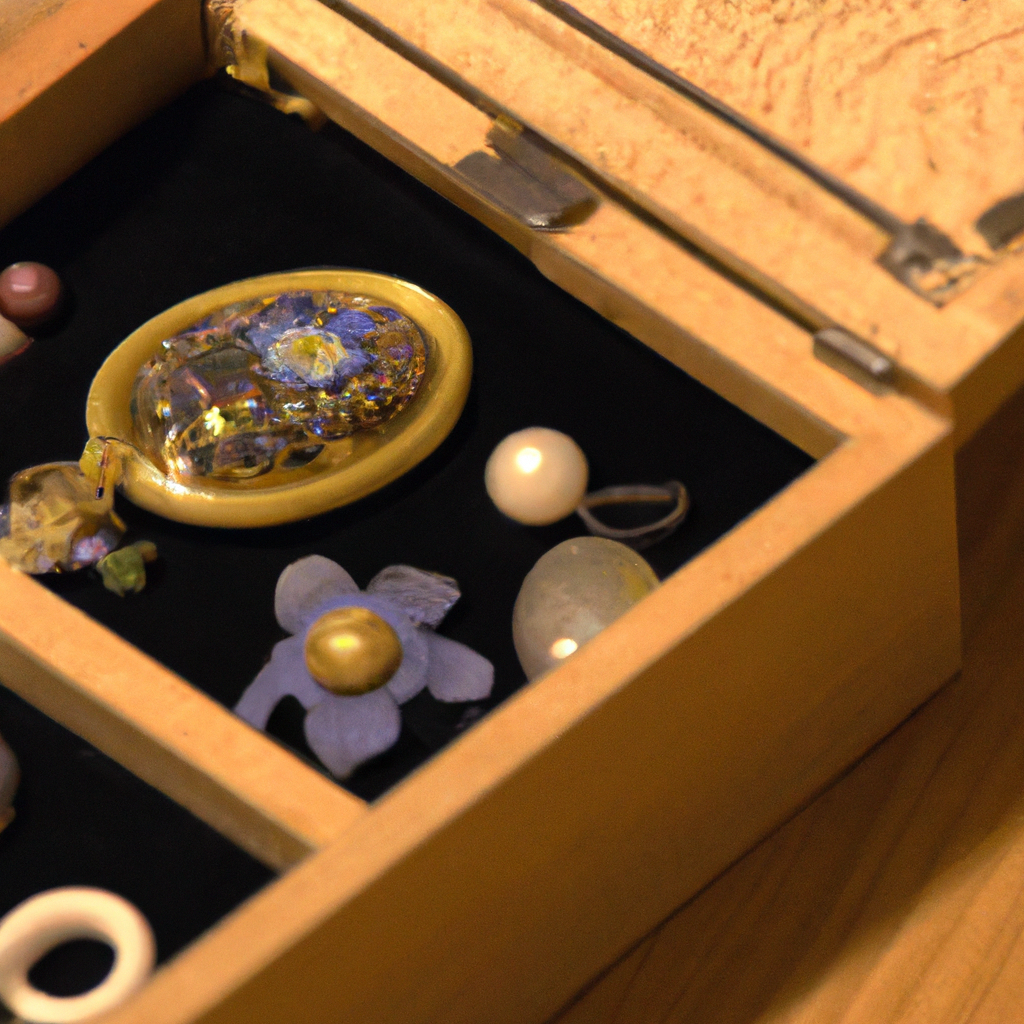
Second-hand button jewelry has been gaining popularity in recent years as people are becoming more aware of the need to reduce waste and reuse materials. This type of jewelry is made using buttons that have been recycled from old clothing or bought from thrift stores. Creating button jewelry is a fun and creative process that allows you to express your personal style while also helping the environment. In this article, we will explore the process of making second-hand button jewelry and provide you with valuable insights into this unique form of upcycling.
1. Gathering Materials
The first step in creating button jewelry is to gather all the materials you will need. This includes buttons, jewelry wire, pliers, and any other decorative elements you may want to add to your piece. You can find buttons at thrift stores, garage sales, or in your own collection of old clothing. It’s important to choose buttons that are in good condition and have no cracks or chips. You should also select buttons in a variety of sizes and colors to add interest to your jewelry.
2. Preparing the Buttons
Once you have gathered your buttons, the next step is to prepare them for use. This may involve washing and drying them if they are dirty or have been taken from old clothing. You may also need to remove any shanks or loops from the back of the buttons using pliers. This will allow you to easily attach the buttons to the jewelry wire.
3. Creating the Design
The next step is to decide on the design of your jewelry. You can create a simple necklace or bracelet by stringing buttons onto a piece of jewelry wire. Alternatively, you can create more complex designs by combining buttons of different sizes and colors or by adding other decorative elements such as beads or charms. You can use different techniques such as wire wrapping or knotting to create unique and interesting designs.
4. Assembling the Jewelry
Once you have decided on the design of your jewelry, the next step is to assemble it. This involves threading the buttons onto the jewelry wire and securing them in place using crimp beads or other types of findings. You may need to use pliers to crimp the beads in place and ensure that the buttons are securely attached to the wire.
5. Adding Finishing Touches
The final step in creating button jewelry is to add any finishing touches. This may involve adding a clasp to a necklace or bracelet or attaching earring hooks to button earrings. You may also want to add additional decorative elements such as ribbon or fabric to your jewelry to give it a unique and personal touch.
Conclusion
Creating second-hand button jewelry is a fun and creative way to upcycle old materials and reduce waste. By following the process outlined in this article, you can create unique and beautiful pieces of jewelry that reflect your personal style and values. Remember to choose buttons that are in good condition and to experiment with different designs and techniques to create jewelry that is truly one-of-a-kind.


