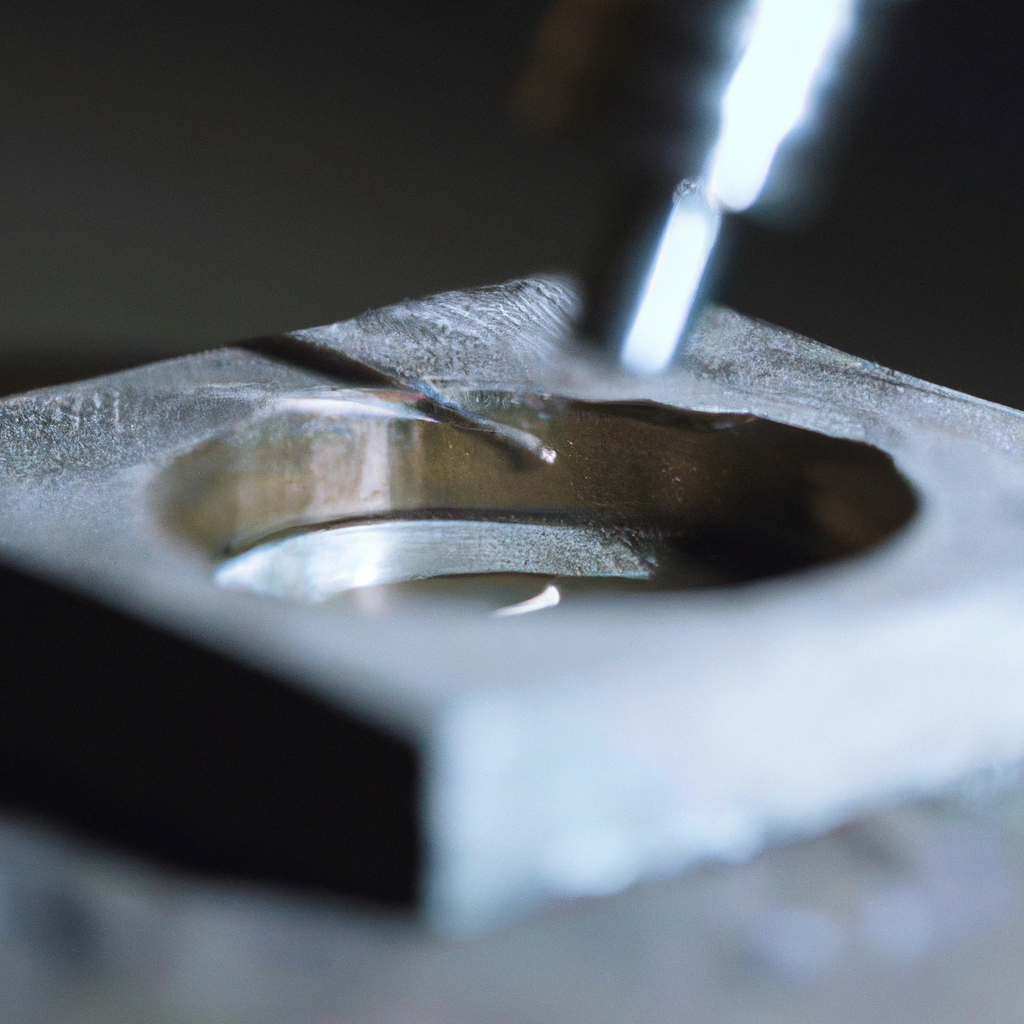
Creating soldered jewelry involves a unique jewelry making technique that requires a certain level of skill and expertise. It’s a process that involves the use of soldering tools and equipment, as well as the application of heat to join two or more pieces of metal together. In this article, we’ll take a closer look at the jewelry soldering process, as well as some DIY jewelry soldering tips, metalworking techniques for jewelry, and jewelry design ideas.
Jewelry Soldering Process
Soldering is the process of joining two or more pieces of metal together by heating them to a specific temperature and applying a soldering material to the joint. The soldering material is usually a metal alloy with a low melting point that flows into the joint and solidifies as it cools, creating a strong bond between the two pieces of metal.
Here are the basic steps involved in the jewelry soldering process:
1. Preparation: Before you begin soldering, you need to prepare your work area and your materials. This includes cleaning the metal surfaces to be joined, selecting the appropriate soldering material, and ensuring that you have all the necessary soldering tools and equipment.
2. Positioning: Once you have your materials and tools ready, you need to position them in the correct orientation for soldering. This may involve using clamps or other holding devices to keep the pieces of metal in place.
3. Heating: Next, you need to apply heat to the joint using a torch or other heat source. The heat should be applied evenly to both sides of the joint to ensure that the soldering material flows evenly.
4. Soldering: Once the metal has reached the correct temperature, you can apply the soldering material to the joint. The solder should flow into the joint and create a strong bond between the two pieces of metal.
5. Cleaning: After the soldering is complete, you need to clean the joint to remove any excess solder or flux. This can be done using a wire brush or other cleaning tool.
DIY Jewelry Soldering Tips
If you’re new to jewelry making, soldering can seem like an intimidating process. However, with a bit of practice and some basic knowledge, you can create beautiful soldered jewelry pieces. Here are some tips to help you get started:
1. Practice on scrap metal: Before you start soldering your actual jewelry pieces, it’s a good idea to practice on some scrap metal first. This will help you get a feel for the soldering process and ensure that you’re comfortable with the tools and equipment.
2. Use the right soldering material: There are many different types of soldering material available, each with its own melting point and properties. Make sure you select the right soldering material for your specific project.
3. Use flux: Flux is a chemical that helps the solder flow evenly and creates a strong bond between the metal pieces. Make sure you apply enough flux to the joint before soldering.
4. Control the heat: It’s important to control the heat when soldering to avoid damaging your materials. Start with a low heat and gradually increase it until the solder starts to flow.
Metalworking Techniques for Jewelry
Soldering is just one of the many metalworking techniques used in jewelry making. Other techniques include sawing, filing, polishing, and texturing. Here are some tips for using these techniques in your jewelry making:
1. Sawing: Sawing is the process of cutting metal using a jeweler’s saw. Make sure you use the right blade for your specific material and take your time to ensure accurate cuts.
2. Filing: Filing is the process of smoothing and shaping metal using a file. Use a smooth, even motion and take care not to remove too much material.
3. Polishing: Polishing is the process of creating a shiny, smooth surface on your jewelry pieces. Use a polishing wheel or other polishing tool, and be sure to clean your jewelry thoroughly before polishing.
4. Texturing: Texturing is the process of adding texture or patterns to your jewelry pieces. This can be done using hammers, stamps, or other texturing tools.
Jewelry Design Ideas
Soldered jewelry can be used to create a wide range of beautiful and unique jewelry pieces. Here are some design ideas to inspire your creativity:
1. Layered necklaces: Create a layered necklace by soldering together multiple pendants or charms.
2. Stacked rings: Create a set of stacked rings by soldering together multiple bands of different widths.
3. Mixed metal earrings: Combine different metals, such as copper and silver, to create unique and eye-catching earrings.
4. Personalized bracelets: Solder together individual name or initial charms to create a personalized bracelet.
In conclusion, creating soldered jewelry requires a certain level of skill and expertise, but with some practice and basic knowledge, it can be a rewarding and enjoyable process. By following the jewelry soldering process, using DIY jewelry soldering tips, metalworking techniques for jewelry, and unique jewelry design ideas, you can create beautiful and unique jewelry pieces that are sure to impress.


