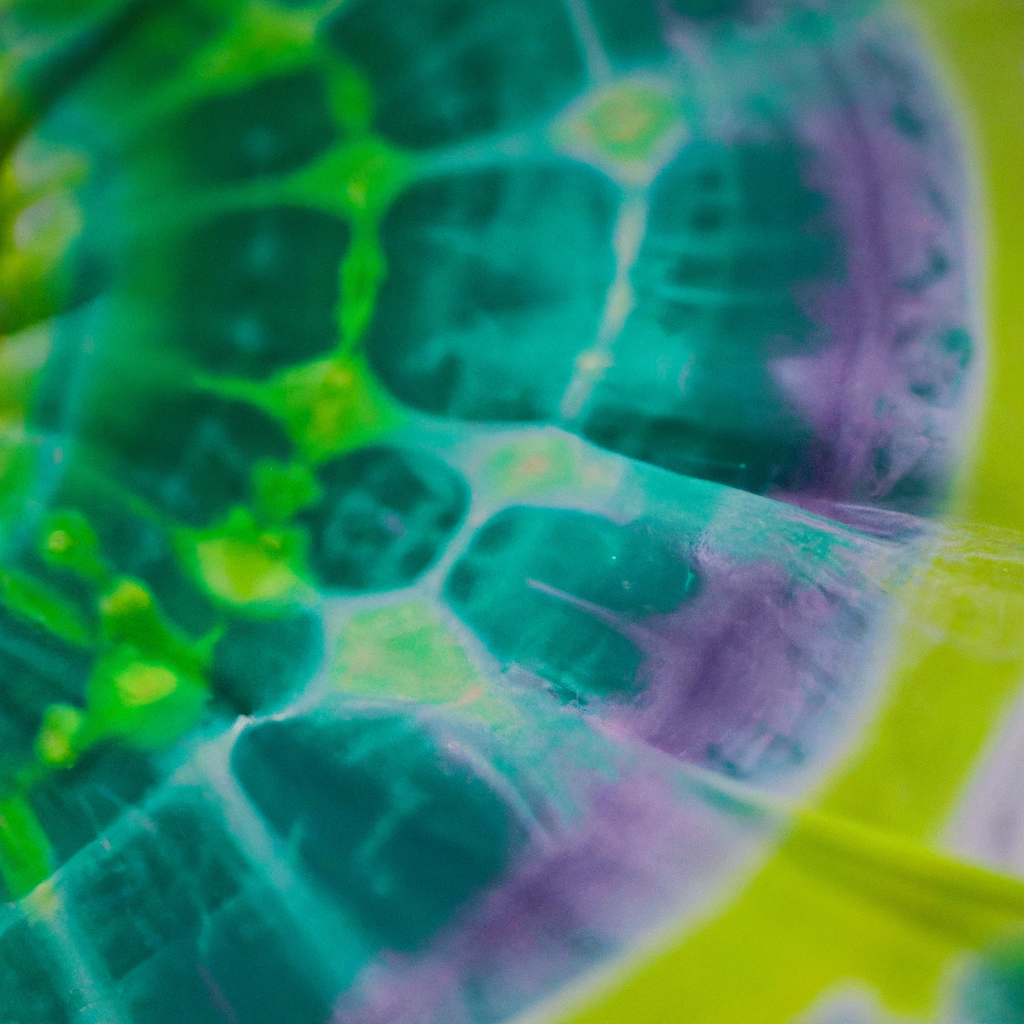
Tie-dye art has been around for centuries and has become increasingly popular in recent years. The art form involves dyeing fabric to create unique and colorful patterns. Tie-dye is a fun and creative way to add some personality to your clothes, accessories, or even your home decor. In this article, we will delve into the tie-dye process, techniques, patterns, and designs to create one-of-a-kind tie-dye pieces.
The tie-dye process involves using fabric dye to create patterns on fabric. The process starts by gathering the necessary supplies such as fabric dye, rubber bands, gloves, and a squeeze bottle or spray bottle. Next, the fabric needs to be washed and dried to remove any dirt and oils that may interfere with the dyeing process.
Once the fabric is clean and dry, it’s time to create the tie-dye design. There are several techniques for creating tie-dye designs, but the most common technique involves twisting, folding, and tying the fabric with rubber bands. The rubber bands create a barrier that prevents the dye from penetrating the fabric, leaving white spaces that create the pattern.
To create a spiral pattern, start by pinching the center of the fabric and twisting it in a clockwise or counterclockwise direction. Keep twisting until the fabric is in a tight spiral, then secure it with rubber bands. For a crumple pattern, crumple the fabric into a ball and secure it with rubber bands. The possibilities are endless, and you can experiment with different techniques to create unique patterns.
Once the fabric is tied and secured with rubber bands, it’s time to prepare the dye. Fabric dye comes in different colors and can be mixed to create custom colors. Follow the instructions on the dye package to mix the dye with water and any necessary additives.
Next, put on gloves to protect your hands from the dye. You can use a squeeze bottle or spray bottle to apply the dye to the fabric. Apply the dye to the fabric, making sure to saturate the fabric completely. You can apply one color at a time or use multiple colors to create a gradient effect. Once the fabric is completely covered in dye, place it in a plastic bag to prevent the dye from drying out.
Let the fabric sit for several hours or overnight to allow the dye to set. The longer you let the fabric sit, the more vibrant and intense the colors will be. After the dye has set, rinse the fabric under cold water until the water runs clear. Remove the rubber bands and wash the fabric in cold water with a mild detergent to remove any excess dye.
Now that you have a basic understanding of the tie-dye process, you can experiment with different patterns and designs. Some popular tie-dye patterns include spiral, crumple, stripe, and bullseye. You can also combine different techniques to create unique designs.
DIY tie-dye has become increasingly popular, and there are many tutorials and resources available online. You can find tutorials on YouTube, Pinterest, and other websites that provide step-by-step instructions on how to create different tie-dye patterns.
In conclusion, tie-dye art is a fun and creative way to add some personality to your clothes and accessories. The tie-dye process involves dyeing fabric to create unique and colorful patterns. There are several techniques for creating tie-dye designs, and you can experiment with different patterns and colors to create one-of-a-kind pieces. With the right supplies and some creativity, anyone can create beautiful tie-dye art.


