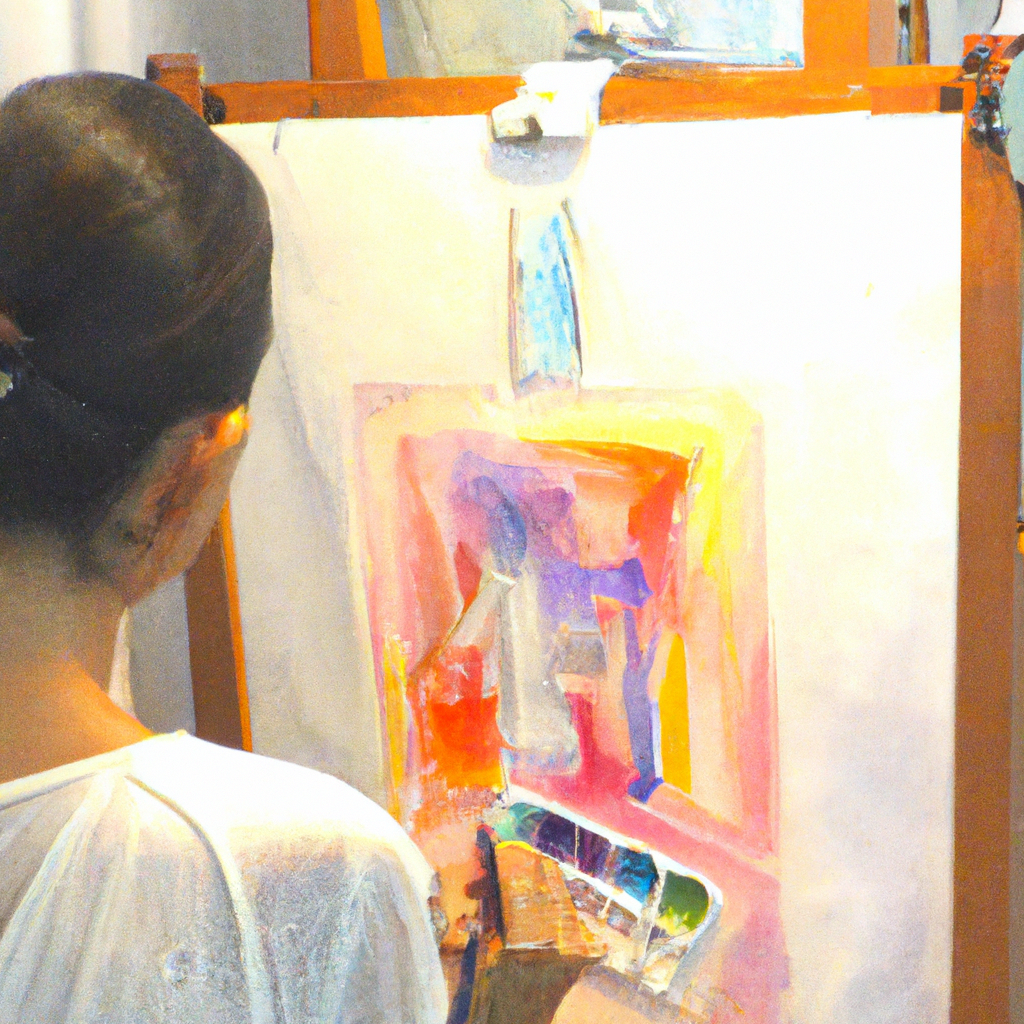
Watercolor portraits are a beautiful form of art that captures the essence of a person’s personality and character. Many artists prefer to use watercolor painting for creating portraits because it allows them to create a soft and delicate effect that can bring out the natural beauty of their subject. The process of creating watercolor portraits involves several steps that require a lot of patience, skill, and creativity. In this article, we will explore the art process and techniques involved in creating watercolor portraits, along with a step by step tutorial, artist tips, and a beginner’s guide to help you get started with your own creative process.
Step 1: Choose your subject
The first step in creating a watercolor portrait is to choose your subject. You can either paint a portrait of someone you know or use a reference photo. If you are using a reference photo, make sure it is of high quality and has good lighting. The photo should be large enough to capture all the details you need to create a realistic portrait.
Step 2: Sketch your outline
Once you have your subject, the next step is to create a sketch of your outline. Use a light pencil to draw the basic shape of your subject’s face, including the eyes, nose, mouth, and ears. You can also add in any additional details such as hair or clothing. This is a crucial step in the art process because it helps you to get the proportions right and ensures that your portrait looks realistic.
Step 3: Apply the first layer of paint
After you have your sketch, it’s time to start painting. Begin by applying the first layer of paint to your portrait. Use a light wash of color to cover the entire face, making sure to avoid any areas you want to keep white. This step helps to create a foundation for your painting and sets the tone for the rest of the portrait.
Step 4: Build up the layers
Once you have your first layer of paint, it’s time to start building up the layers. Use a smaller brush to add in more detail, working from light to dark. Be patient and take your time, allowing each layer to dry before adding the next. This step helps to create depth and dimension in your portrait and gives it a more realistic look.
Step 5: Add the finishing touches
Once you have built up your layers, it’s time to add the finishing touches. This is where you can add in any final details, such as highlights or shadows. Use a small brush to add in these details, making sure to blend them in with the rest of the painting. This step helps to bring your portrait to life and gives it a more polished look.
Artist tips:
– Use high-quality watercolor paper and paints for the best results.
– Practice your technique by experimenting with different brush sizes and strokes.
– Don’t be afraid to make mistakes! Watercolor painting is all about experimentation and learning from your mistakes.
– Take breaks when you need to. Painting can be a mentally and physically demanding activity, so make sure to give yourself time to rest and recharge.
Beginner’s guide:
If you are new to watercolor painting or portrait painting, don’t worry! There are plenty of resources available to help you learn and improve your skills. Consider taking a class or workshop, watching online tutorials, or reading books on the subject. Remember to start small and work your way up, practicing your technique and experimenting with different styles and techniques.
In conclusion, creating watercolor portraits is a beautiful and rewarding form of art that requires patience, skill, and creativity. By following the steps outlined in this article, along with artist tips and a beginner’s guide, you can start your own creative process and create stunning watercolor portraits that capture the essence of your subject’s personality and character.


