Picture this: a slice of freshly baked bread, warm from the oven, with a generous spread of homemade jam, bursting with the flavors of freshly picked fruit. Homemade jam is a delightful treat that can make any breakfast or snack special. Not only is it delicious, but it’s also a great way to preserve fruit. In this article, we’ll explore the process of making homemade jam, from selecting the fruit to preserving it in jars.
Choosing The Fruit
The first step in making homemade jam is selecting the fruit. You can use a variety of fruits, depending on your preference. Some popular options include strawberries, raspberries, blueberries, peaches, and apricots. It’s important to use ripe fruit to ensure that your jam has a rich and flavorful taste.
Preparing The Fruit
Once you’ve selected your fruit, the next step is to prepare it. Start by washing the fruit thoroughly to remove any dirt or debris. Then, remove any stems, seeds, or pits from the fruit. You can also cut the fruit into smaller pieces if desired.
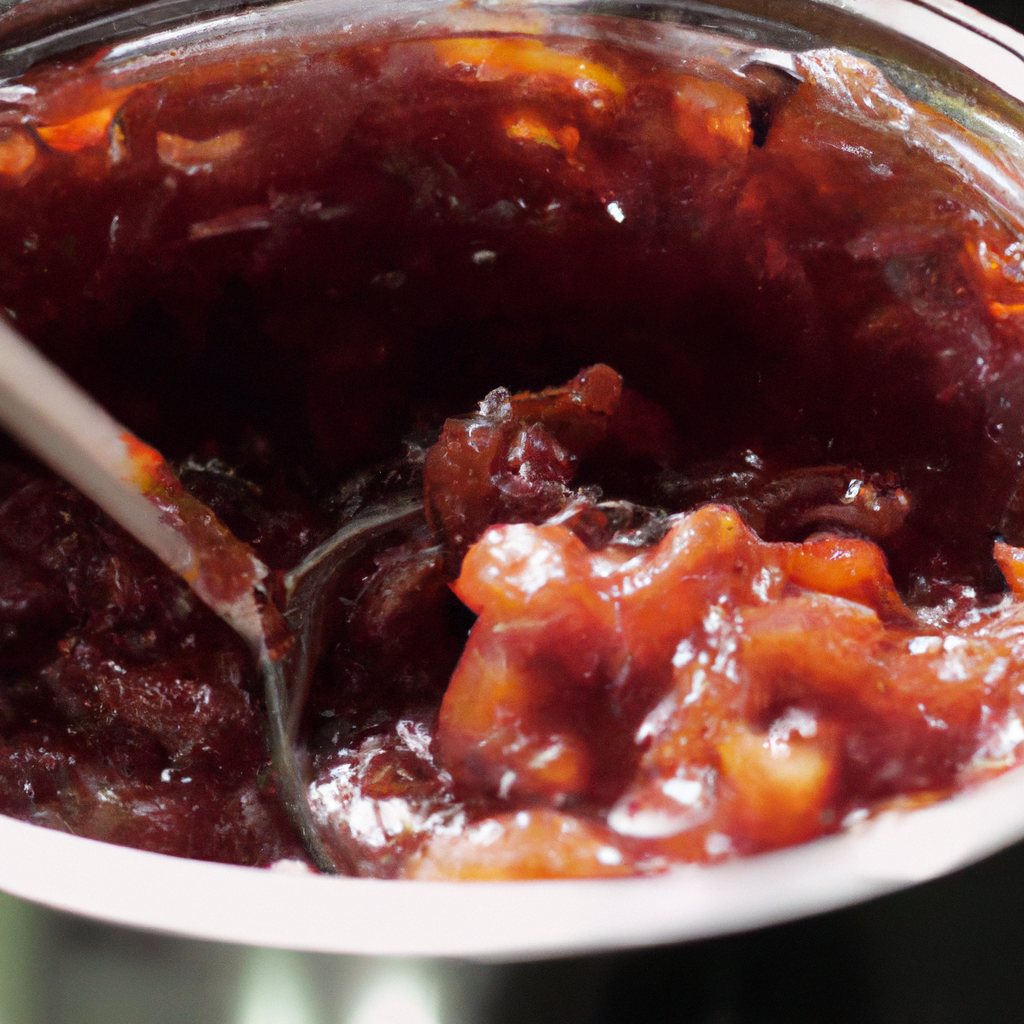
Cooking The Fruit
After preparing the fruit, it’s time to cook it. Add the fruit to a large pot along with sugar and any other desired ingredients, such as lemon juice or spices. Cook the mixture over medium heat, stirring occasionally, until the fruit has softened and the sugar has dissolved. This typically takes around 20-30 minutes.
Testing The Jam
To test if the jam is ready, you can perform a “plate test.” Simply place a small amount of the jam onto a cold plate and let it cool for a few minutes. Then, push the jam with your finger. If it wrinkles and holds its shape, it’s ready. If not, continue cooking the jam for a few more minutes and repeat the plate test.
Preserving The Jam
Once the jam is ready, it’s time to preserve it in jars. Start by sterilizing the jars and lids by boiling them in water for 10 minutes. Then, carefully spoon the hot jam into the jars, leaving about 1/4 inch of headspace at the top. Wipe the rims of the jars clean, then seal them with the lids and rings.
Processing The Jars
To ensure that your homemade jam is safely preserved, it’s important to process the jars. This involves boiling the jars in a water bath for a set amount of time, depending on the recipe. This process kills any bacteria and creates a vacuum seal that helps to preserve the jam.
Storing The Jam
After processing the jars, remove them from the water bath and let them cool completely. Once cooled, check the seals to ensure that they are tight. Store the jars in a cool, dark place for up to a year. Once opened, the jam should be refrigerated and used within a few weeks.
Conclusion
Making homemade jam is a fun and rewarding process that yields delicious results. Whether you’re an experienced cook or a beginner, DIY jam is a great way to explore the world of fruit preservation. By following these simple steps, you can create a homemade fruit spread that will delight your taste buds and impress your friends and family. Happy jam making!